You may want to print these instructions before proceeding, so that you can
refer to them while downloading and installing Eclipse.
Or, just keep this document in your browser.
You should read each step completely before performing the action that it
describes.
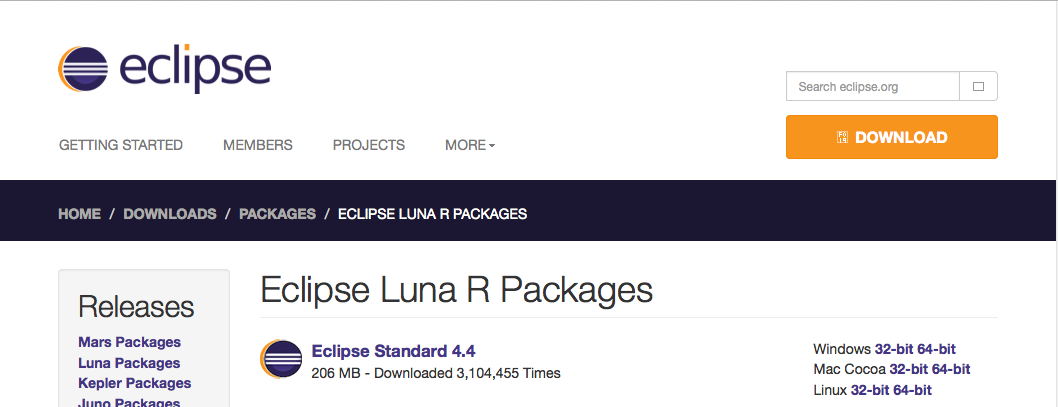
This document shows downloading and installing Eclipse (Luna).
You should download and install the latest version of Eclipse.
The current latest (as of Fall 2018) is Eclipse 2018-09.
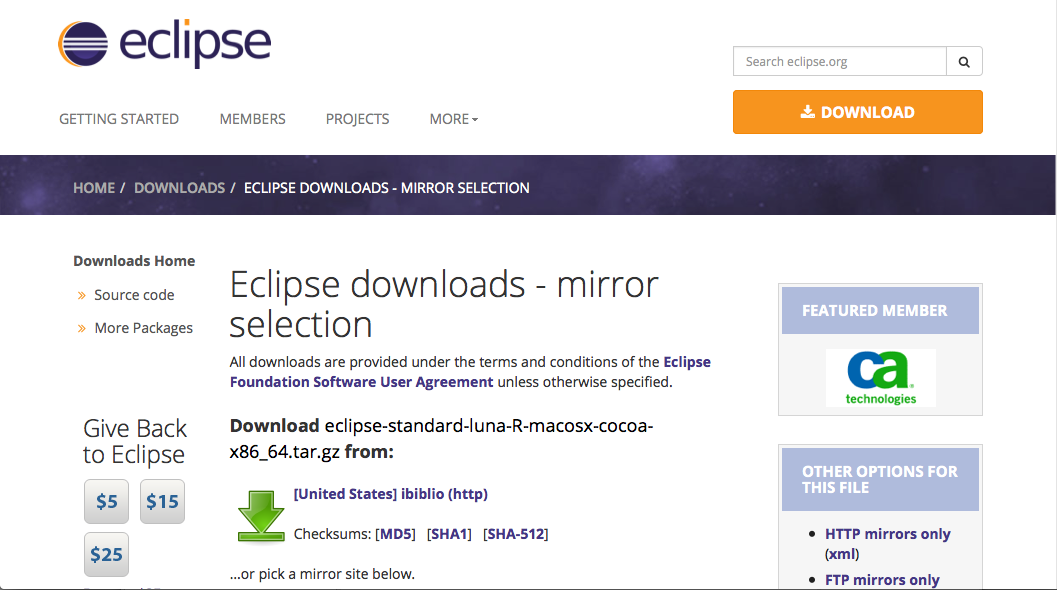
The Eclipse download requires about 200 MB of disk space; keep it on your
machine, in case you need to re-install Eclipse.
When installed, Eclipse requires an additional 200 MB of disk space.
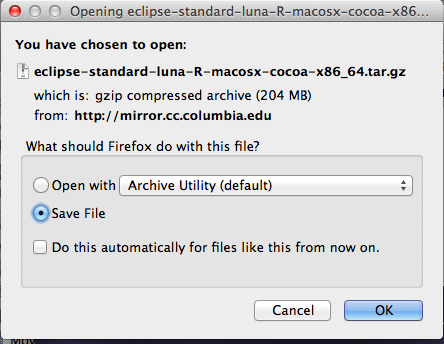
- Unzip eclipse-standard-luna-R-macosx-cocoa-x86_64.tar.gz by
double-clicking it.
Unzipping this file creates a folder named eclipse; unzipping
200 MB can take a few minutes.
You can leave this folder here or move it elsewhere on your hard disk.
- Create an alias on the desktop to to the eclipse file in
this eclipse folder:

On the Mac, you can
- Control-click the file eclipse.exe
- Select the Make Alias option.
- Move it to the desktop.
Now you are ready to perform a one-time only setup of Eclipse on
your machine.
- Double-click the alias to Eclipse that you just created above.
If the following pop-up window appears
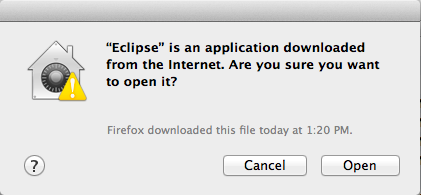
click Open.
The following splash screen will appear

and then a Workspace Launcher pop-up window will appear.
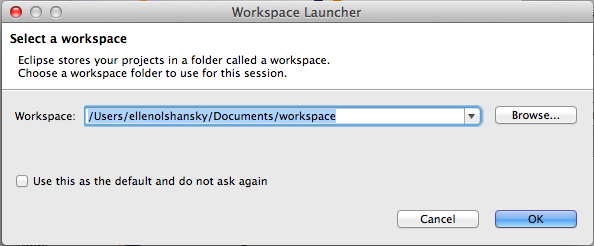
In the Workspace text box, your name should appear between
/Users and /Documents, instead of ellenolshansky
(I did this on my wife's Mac).
Leave unchecked the
Use this as the default and do not ask again box.
Although you will use this same workspace for the entire quarter (checking
projects in and out of it), it is best to see this
Workspace Launcher pop-up window each time you start Eclipse, to
remind you where your workspace is located.
In fact, it is a good idea to create on your desktop an alias to your
workspace folder; but you must click OK (see below) before
Eclipse creates this folder and you can alias it.
- Click OK.
Progress bars will appear as Eclipse loads.
Eventually the Eclipse workbench will appear with a Welcome tab
covering it.
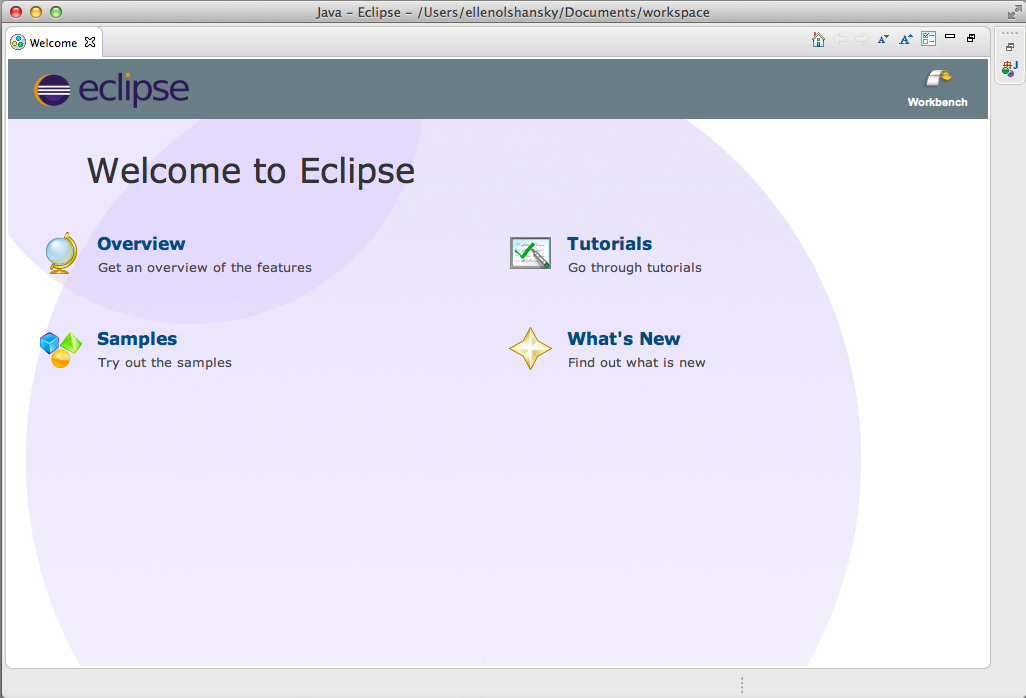
- Terminate (click X on) the Welcome tab.
You will not see the Welcome tab when you start Eclipse again, after
this first time.
- Click Help (on the far right of the top toolbar) and then click
Install New Software... in its pull-down menu, as shown below.

The Install pop-up window will appear.
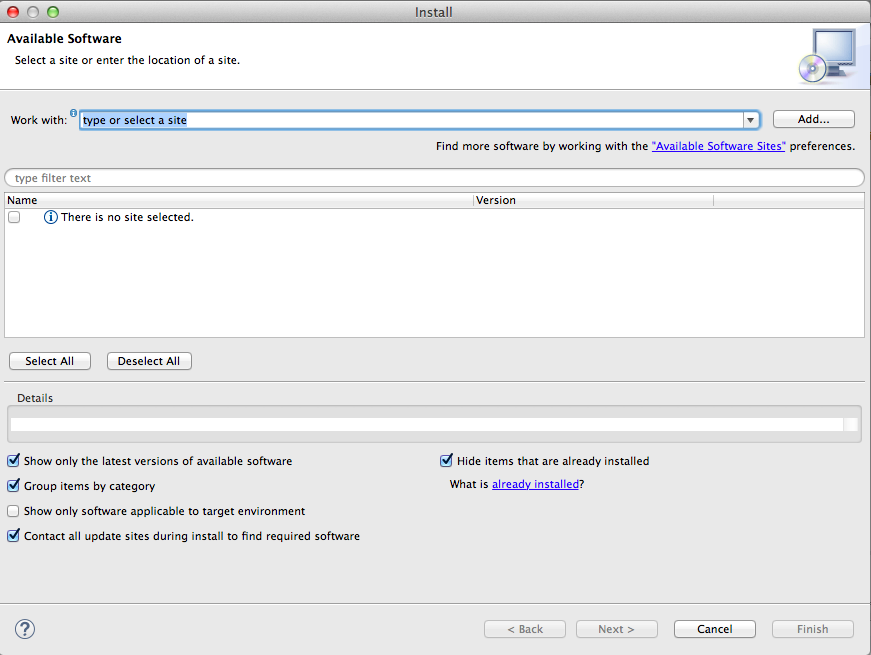
- Enter the text (or cut/paste from this document)
http://pydev.org/updates into the Work with text box and
press Enter (if that doesn't work, try
http://www.pydev.org/updates).
In a few seconds the information under Name should change from
There is no site selected to Pending to

Select only the top PyDev checkbox; do NOT select the
PyDev Mylyn Integration (optional) box.
Check before proceeding that the Install pop-up window appears as
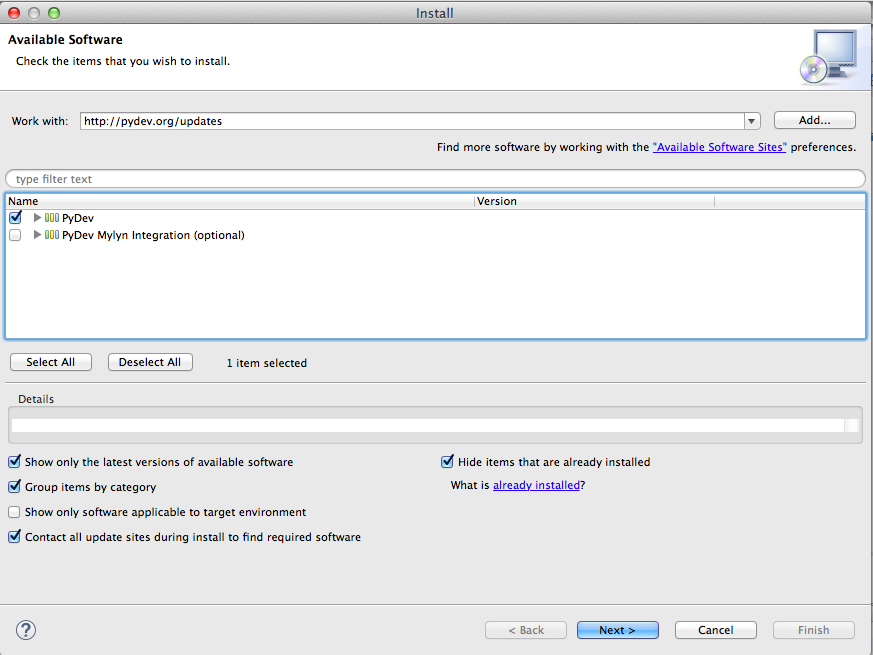
- Click Next >
A new Install pop-up window will appear.
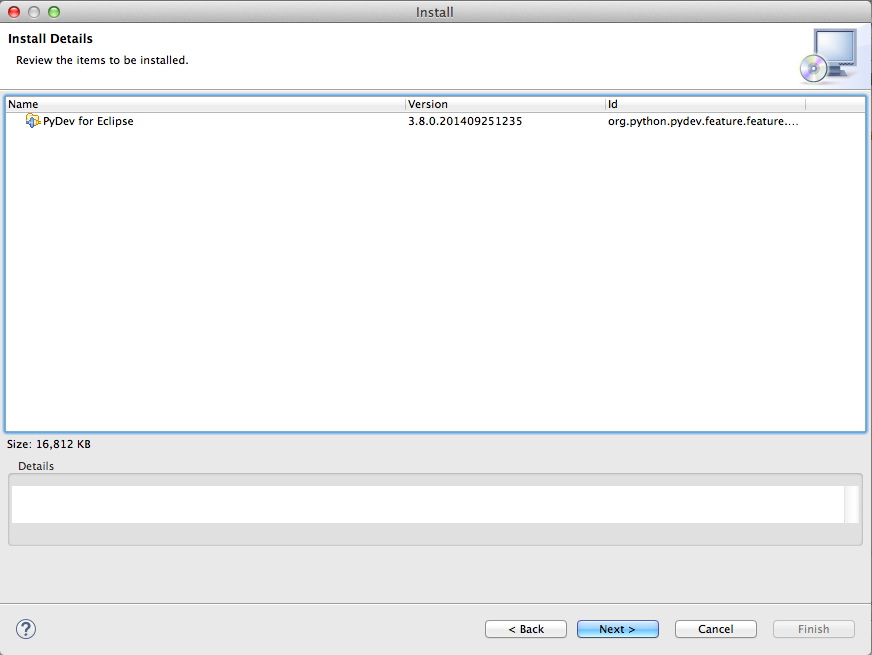
- Click Next >
A new Install pop-up window will appear.
Selecet the I accept the terms of the license agreement radio button,
so the window appears as
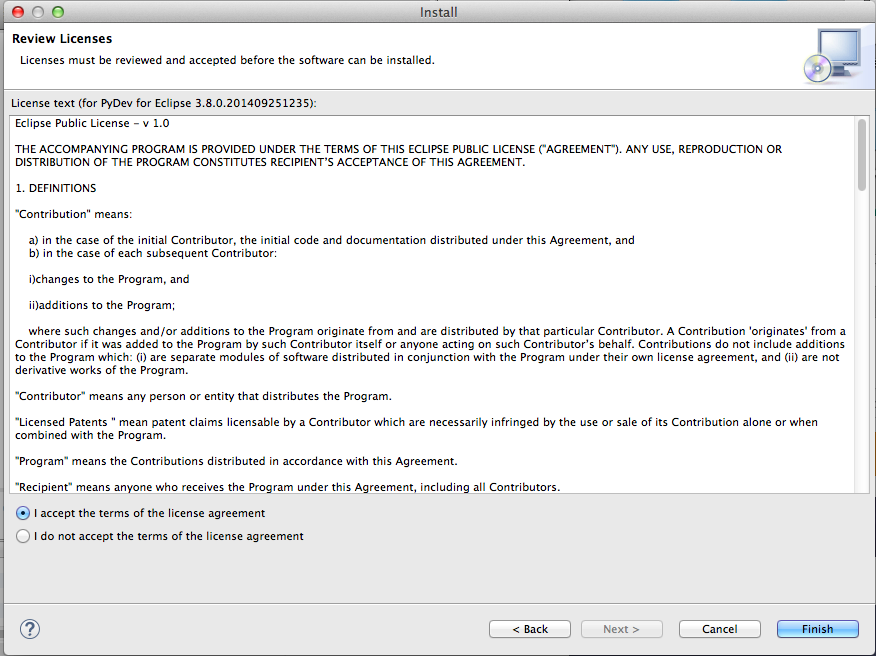
- Click Finish
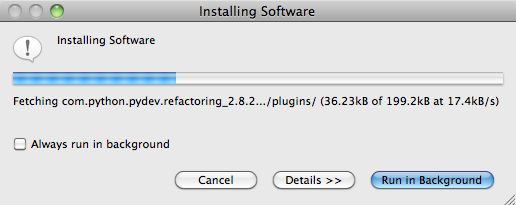
An Installing Software pop-up window will appear.
During installation, it will show the various operations it is
performing and a progress bar for each one.
Because the installer is fetching various files online, this process might
take a few minutes.
The installation will pause, and a Selection Needed pop-up window
appears.
- Check the box labeled Brainwy Software; Pydev; Brainwy.
Check before proceeding that the Install pop-up window appears as
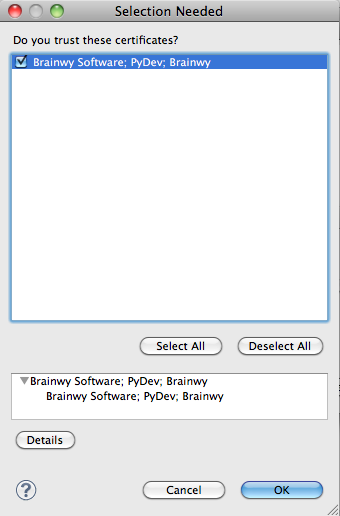
- Click OK
The installation will finish (showing the final progress bars).
A Software Updates pop-up window will appear.
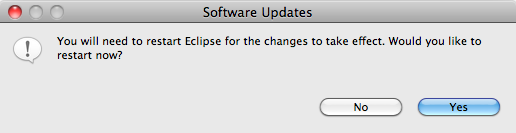
- Click Yes
Eclipse will terminate and restart.
As you did in step 3, click OK to the
Workspace Launcher pop-up window.
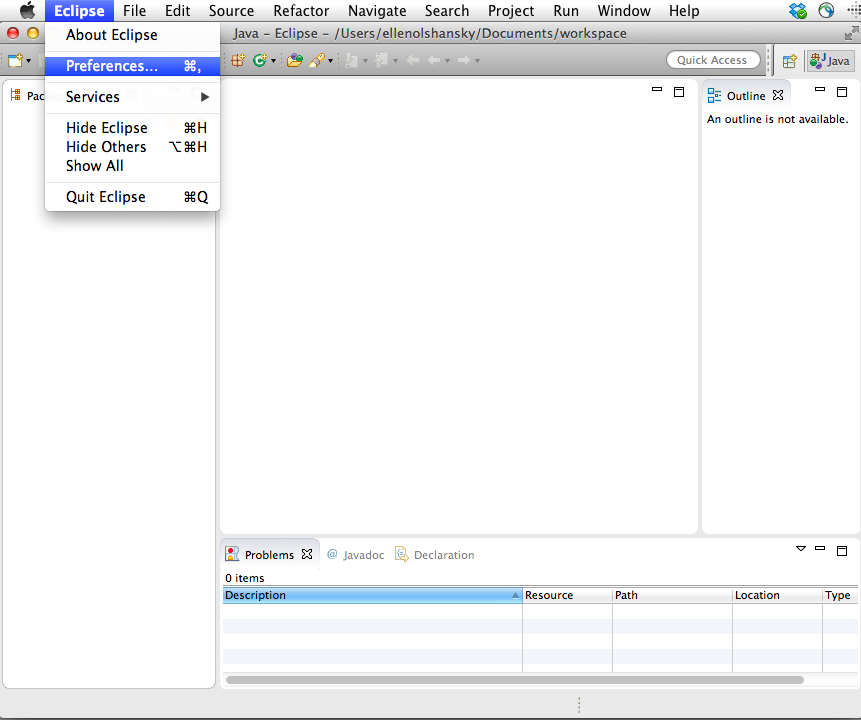
- Click Eclipse (to the right of Apple logo on the far left of
the top tool bar), and then click Preferences in its pull-down
menu, as shown below.
- Drill down to select the interpreter:
- Disclose PyDev by clicking the triangle in front of
PyDev or double-clicking PyDev (after the triangle).
- Disclose Interpreters by clicking the triangle in front
of Interpreters or double-clicking Interpreters
(after the triangle).
- Select Python - Interpreter.
The Preferences pop-up window should appear as follows
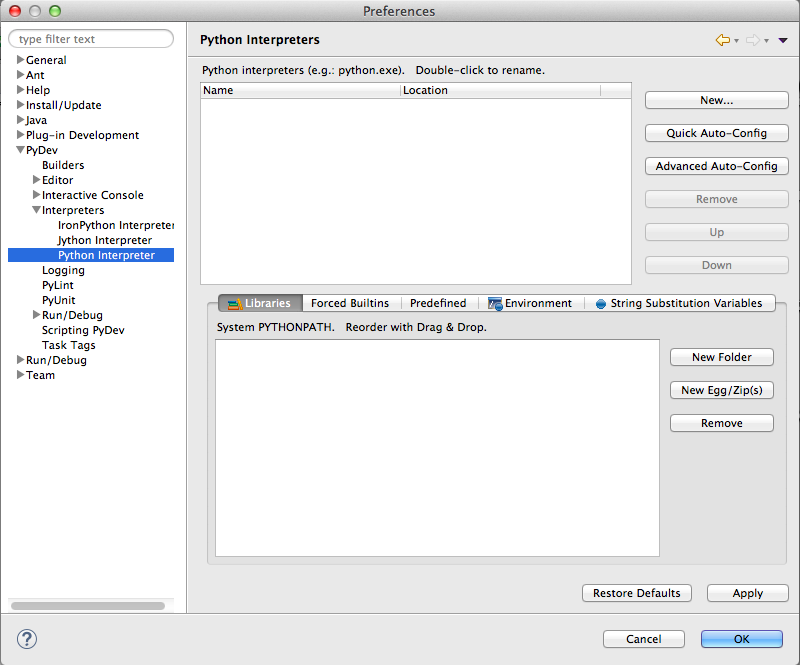
- Click New... at the top-right of the top window
A Select Interpreter pop-up window appears.
Type python34 in the Interpreter Name text box.
Type (or cut/paste) //usr/local/bin/python3 in the
Interpreter Executable text box (or browse to this file).
The Select Interpreter pop-up window should appear as
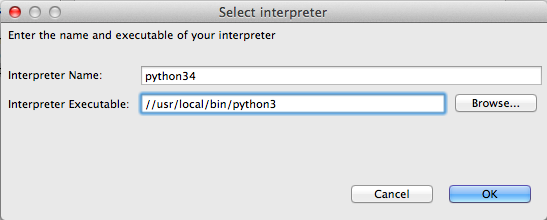
- Click OK.
A Selection needed pop-up window will appear.
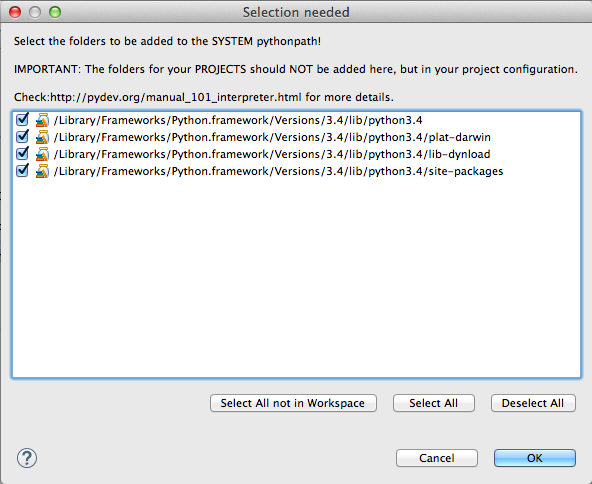
Ensure that a check appears in all four checkboxes.
- Click OK.
The Preferences pop-up window will be changed to
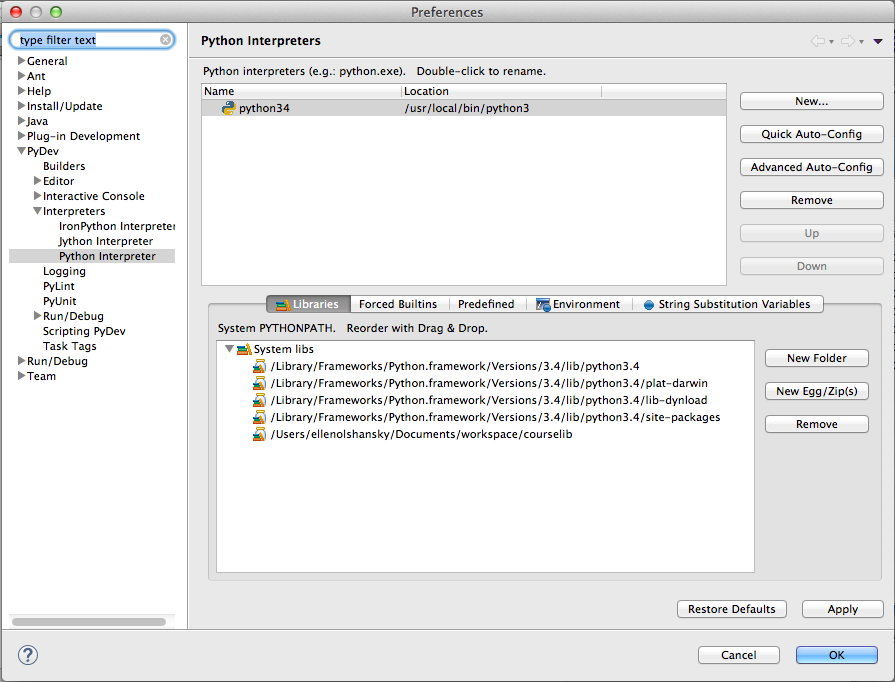
- Click OK.
A Progress Information pop-up window will appear.
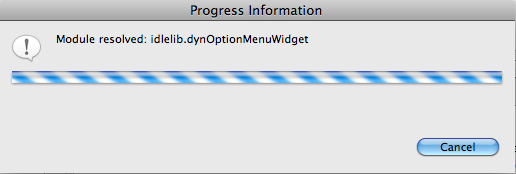
During installation, it will show the various operations it is
performing and a progress bar for each one.
Eventually the installation will terminate.
- Click Window (to the left of Help on the far right of the
top tool bar), hover over Open Perspective in the pull-down
menu and then click Other... in the next pull-down menu.
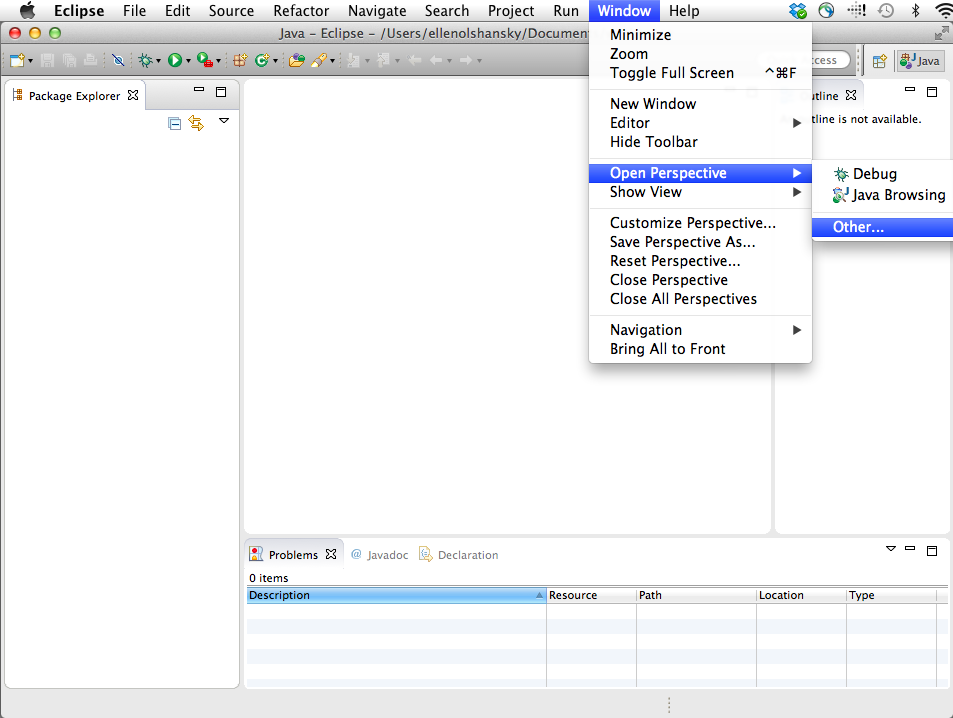
The Open Perspective pop-up window will appear.
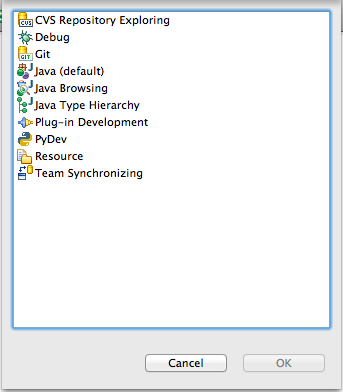
- Double-click PyDev (third from the bottom)
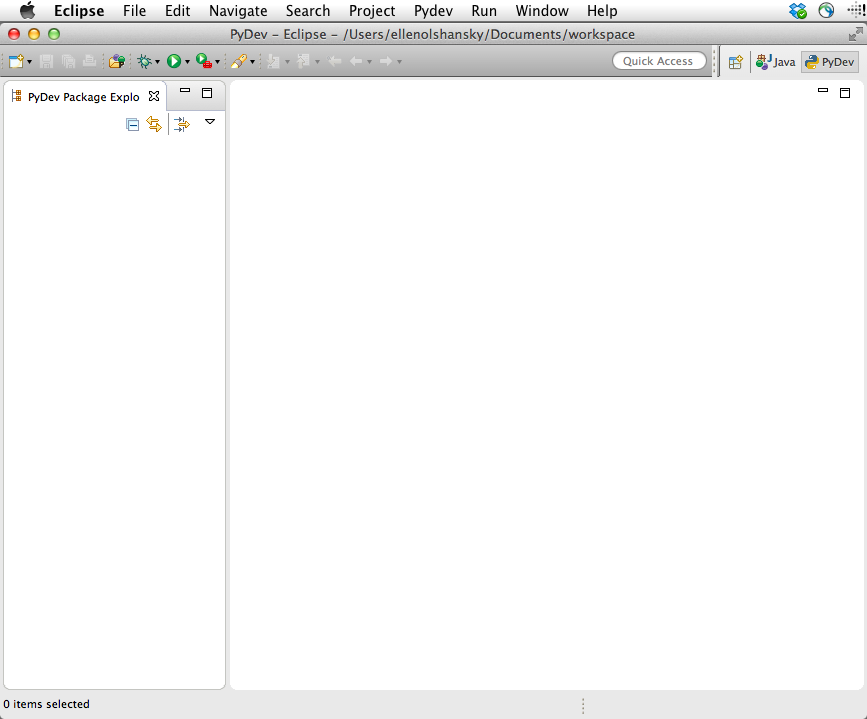
The label on Eclipse will change from Java - Eclipse to
PyDev - Eclipse, and the Package Explorer in the upper-left
tab will change to PyDev Package Explorer, and a PyDev icon
will appear to the right of the Java icon.
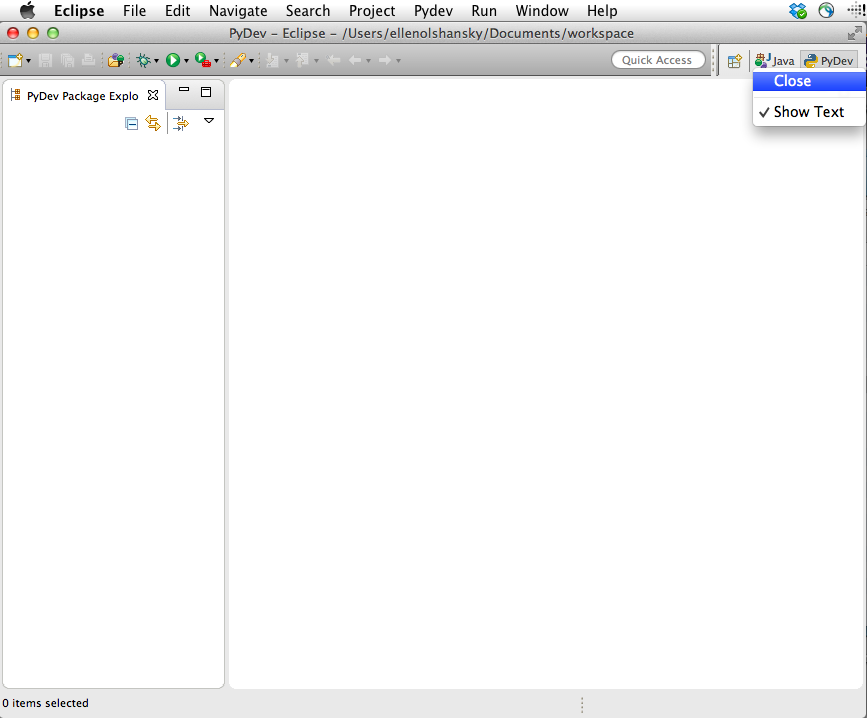
- Right-click the Java icon to the left of the PyDev icon
and select close
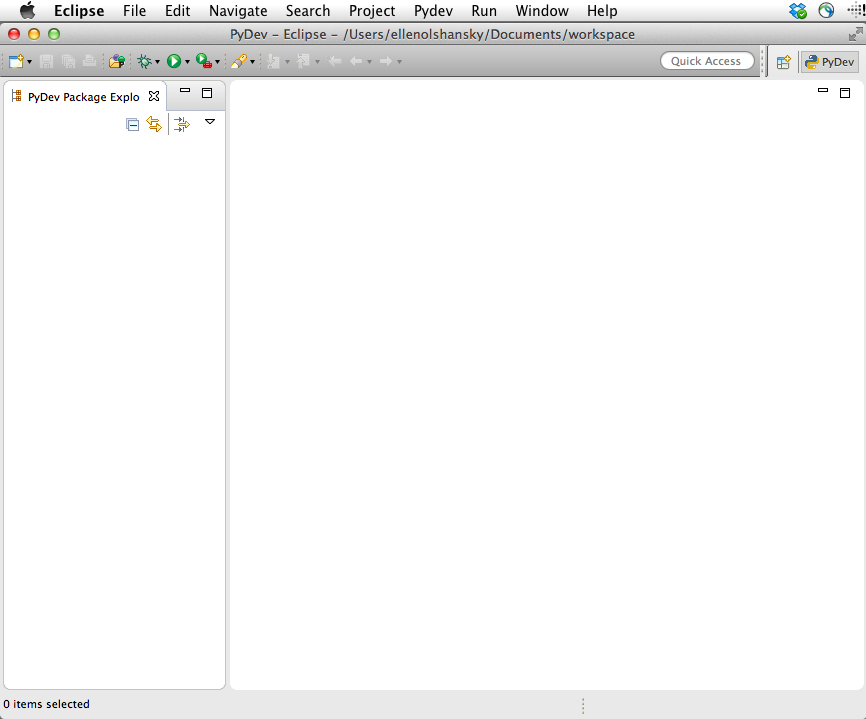
The Eclipse workbench will now have only the PyDev icon here and
will look like
- Download the courselib.zip
file.
In the pop-window that appears
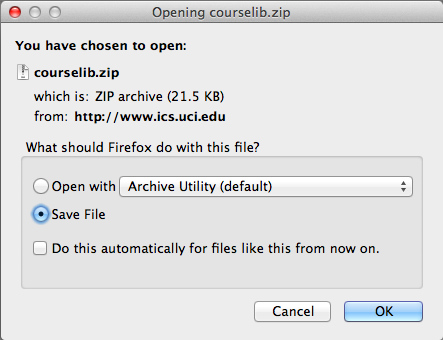
ensure the Save File radio button is depressed and click OK.
- Locate the workspace folder created in step 3
(see /Users/yourname/Documents/workspace)
and copy the courselib.zip file into this workspace and unzip it
there, producing the courselib folder; it should should contain a
bunch of Python module files (ending in .py).
From time to time you will be asked to put other course-specific Python
module files into this courselib folder; these modules will be
usable in all Python projects in Eclipse.
- Inform Eclipse to use the courselib folder in all Python projects.
- Select Eclipse | Preferences.
- Disclose PyDev by clicking the triangle in front of
PyDev or double-clicking PyDev (after the triangle).
- Disclose Interpreters by clicking the triangle in front
of Interpreters or double-clicking Interpreters
(after the triangle).
- Select Python - Interpreter.

- Click the Libraries tab (leftmost, above the bottom pane)
- Click the New Folder button (topmost, right of the bottom pane)
- Browse to the courselib folder (added above) in the
Browse for Folder pop-up window
(/Users/yourname/documents/workspace/courselib).
- Click the courselib folder selected, and then click OK
- Click Apply (you will see some progress bars)
The pop-up window should now appear as
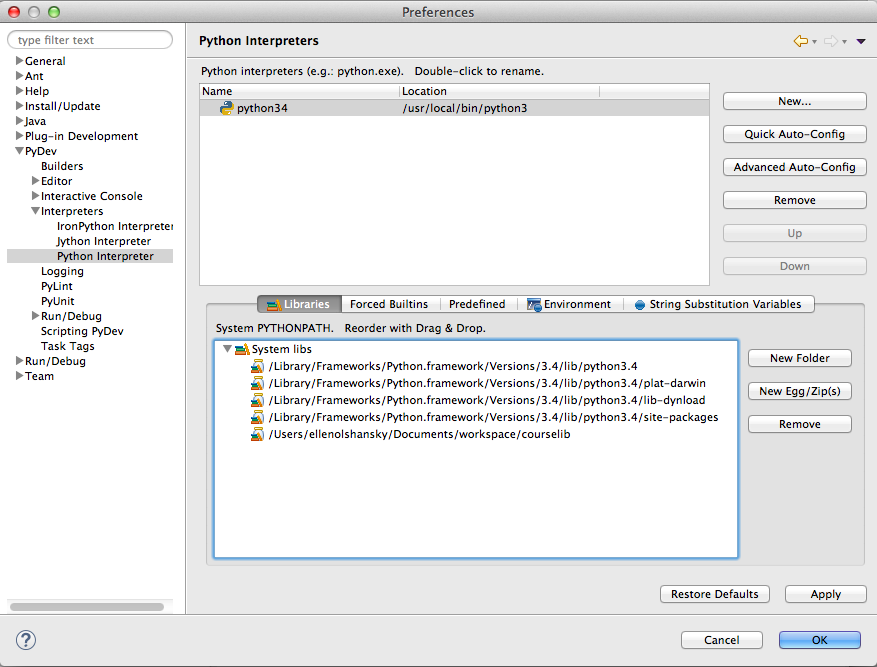
Notice a fifth entry (ending in courselib appears at the bottom of
the bottom pane named System PYTHONPATH
- Cick OK
- Terminate (click X on) the Eclipse window.
Eclipse is now installed for Python.