1. Get your ics account activated. See bullet #7 located here.
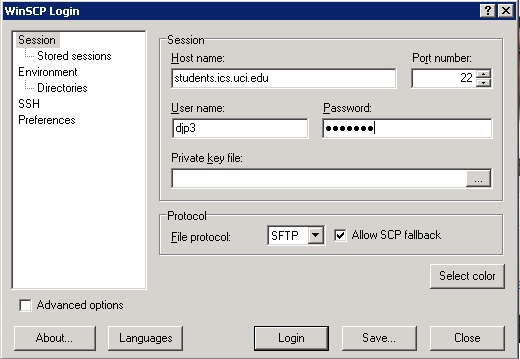
2. Login to students@ics.uci.edu using sftp. It is important to use students.ics.uci.edu not openlab.ics.uci.edu. The former allows you to do things that you can't do on the latter. You can use utilities like WinSCP. Figure 1. Shows the login screen using the WinSCP utility
Figure 1
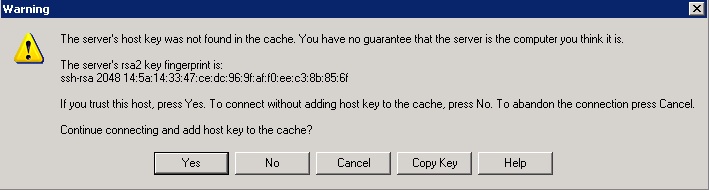
3. If you get a warning like this (and it's the first time that you have connected to this machine) click "Yes"
4. Setting up Your ~/public_html Directory
Create a subdirectory public_html in your home directory on the remote machine.
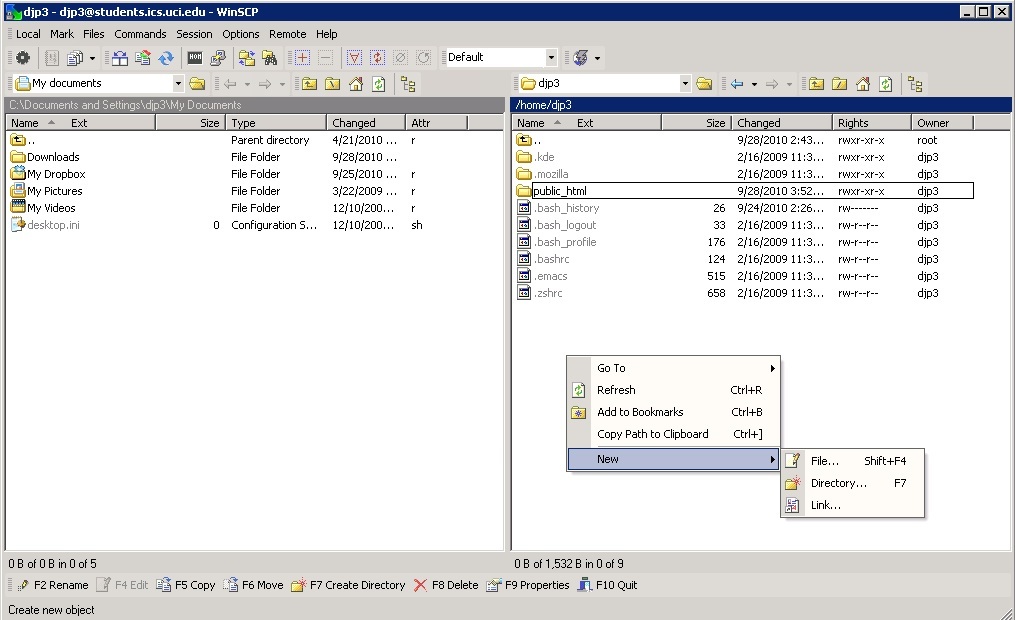
Figure 2
5. Drag and drop files from your local computer to the remote computer. Place the documents you want to web browsers to be able to find in this public_html directory or in further subdirectories.
6. All filenames must end with an appropriate extension (the part after the last dot).
For example, all HTML documents should have filenames ending in .html, all text documents should have filenames ending in .txt, and all PostScript documents should have filenames ending in .ps.
7. Accessing your webpage
If I put the file index.html in the directory /home/djp3/public_html, then I would point my web browser to https://students.ics.uci.edu/~djp3/index.html to find it.
For example, for login name peteranteater, the URL http://www.ics.uci.edu/~peteranteater/myfile.html will access ~peteranteater/public_html/myfile.html.
The URL http://www.ics.uci.edu/~peteranteater/ (i.e. no filename) is the same as http://www.ics.uci.edu/~peteranteater/index.html