Select Properties which appears at the bottom as follows.
- Under type filter text, disclose C/C++ Build and select Settings.
- Under the Tool Settings tab, under GCC C++ Compiler select Miscellaneous.
- In the Other flags textbox, type -std=gnu++11 at the end.
- Click Apply.
- Under the Tool Settings tab, under GCC C++ Compiler select Includes.
- In the Include paths (-I) pane,
click the add icon
 .
.
- In the Add directory path popup window, click the File system... button.
- In the Browse For Folder popup window, navigate to and select the include folder in the googletestlib folder in the Eclipse workspace.
- Click OK in the Browse For Folder popup window.
- Click OK in the Add directory path popup window.
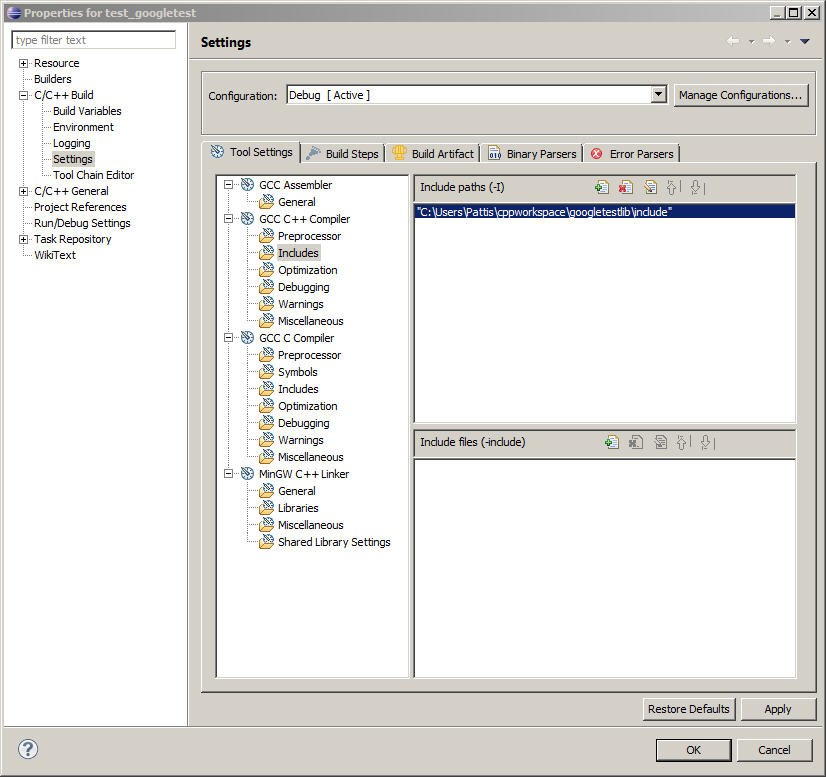
- The Properties for test_googletest popup window should
appear as follows (your folder names may be a bit different).
- Click Apply.
- Under the Tool Settings tab, under MinGW C++ Linker select Libraries.
- In the Libraries (-l) pane,
click the add icon .
- In the Enter Value popup window, enter gtest in the textbox.
- Click OK in the Enter Value popup window.
- In the Library search path (-L) pane,
click the add icon .
- In the Add directory path popup window, click the File system... button.
- In the Browse For Folder popup window, navigate to and select the make folder in the googletestlib folder in the Eclipse workspace.
- Click OK in the Browse For Folder popup window.
- Click OK in the Add directory path popup window.
- The Properties for test_googletest popup window should
appear as follows (your folder names may be a bit different).

- Click Apply.
- Click OK.
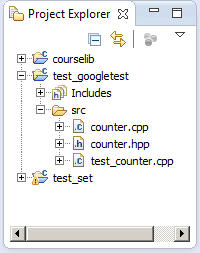
Disclose the src icon in the Project Explorer, which appears as follows.
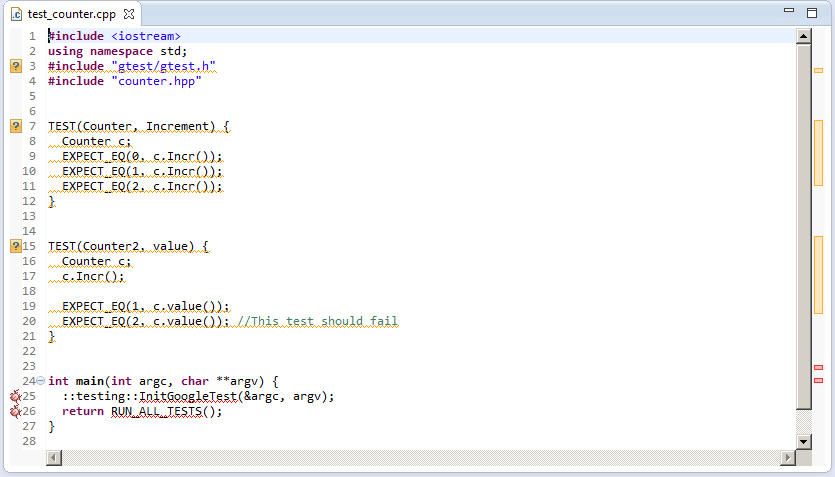
Examine the counter files (both .hpp and .cpp), which describe a trivial class. The test_counter.cpp is the code that is run by GoogleTest.
 or
right-click in the test_googletest icon in the
Project Explorer
tabl and select Build Project.
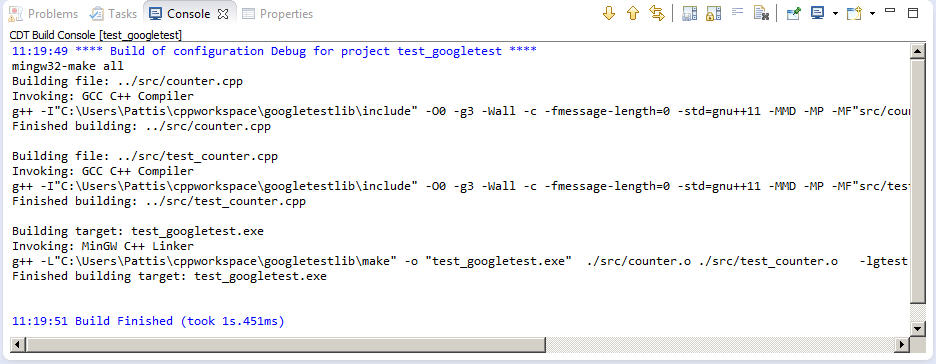
The Console window should show the following.
or
right-click in the test_googletest icon in the
Project Explorer
tabl and select Build Project.
The Console window should show the following.
 or
right-click in the test_counter.cpp editor tab and select
select Run As | 1 Local C/C++ Application illustrated below.
or
right-click in the test_counter.cpp editor tab and select
select Run As | 1 Local C/C++ Application illustrated below.

The program should begin running and the Console window should show the following.
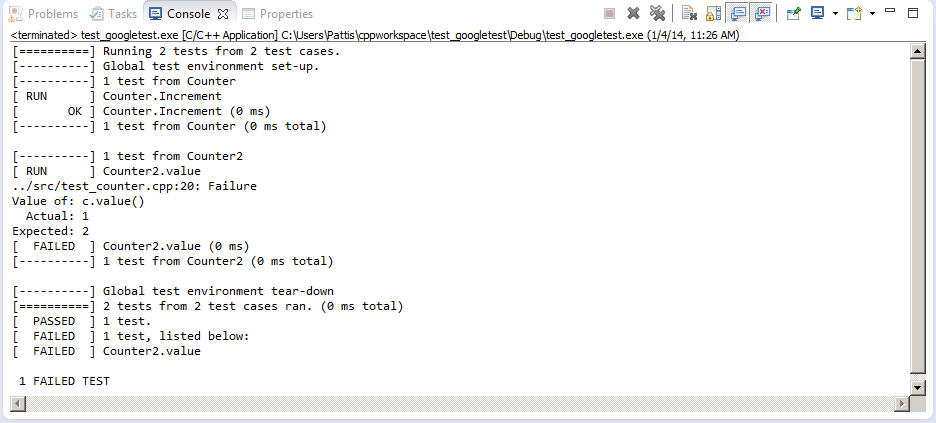
The output shows passed and failed tests. Examine the counter files (both .hpp and .cpp), which describe a trivial class, and the test_counter.cpp which contains the code that is run by GoogleTest to see why the first test passed and the second one failed.