Before installing CLion in this handout, you should have already downloaded and
installed the Clang C++ compiler
(if you haven't, go back and do so).
You may want to print these instructions before proceeding, so that you can
refer to them while downloading and installing CLion.
Or, just keep this document in your browser.
You should read each step completely, before performing the action that it
describes.
This document shows the installation of CLion version 2016.2.2; I installed
this version originally, but I am now using verson 2016.3.1.
You should install the latest version to be compatible with how CLion is
used in this document.
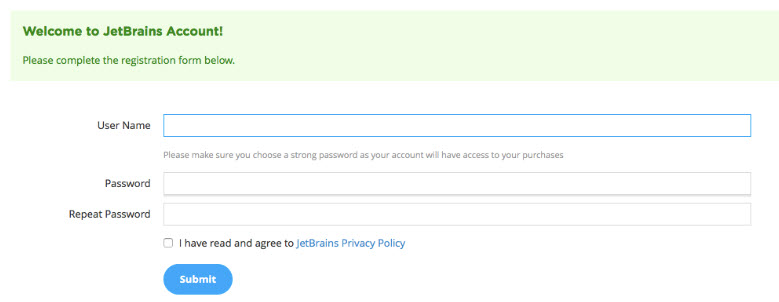
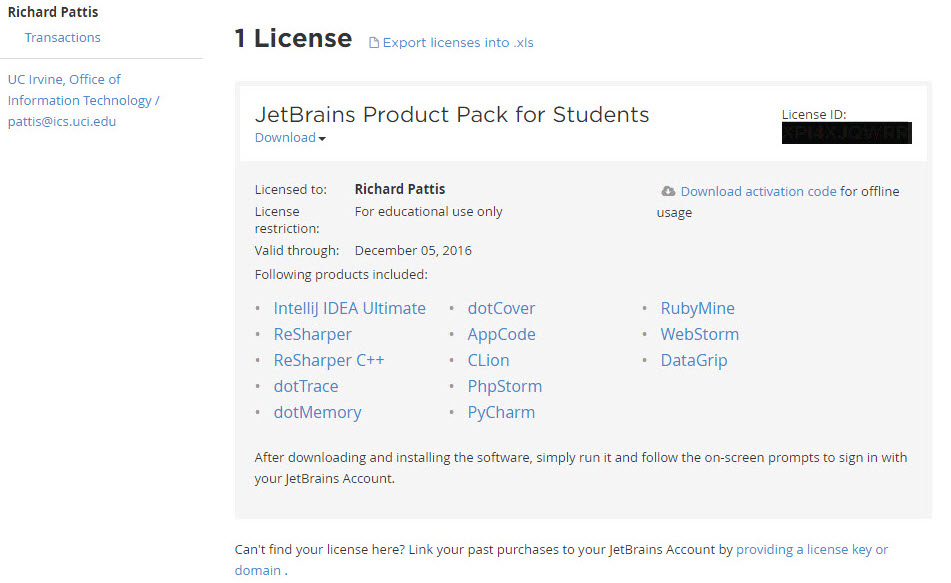
In this section you will register for a free copy of CLion online.
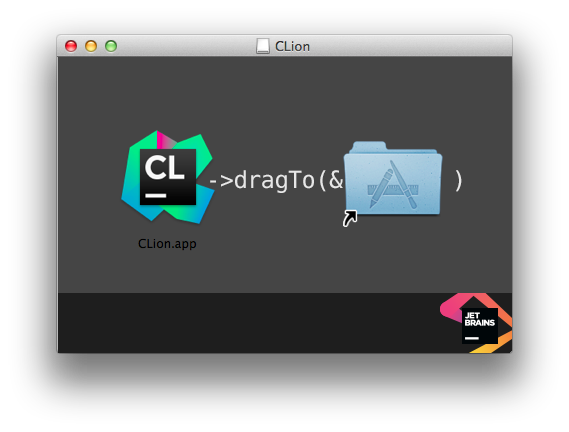
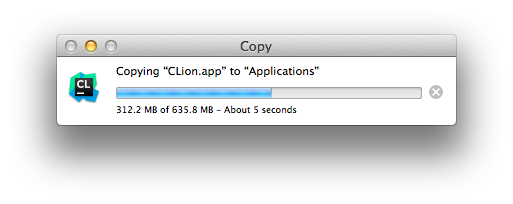
In this section you will download and begin installing CLion for use with the
Clang C++ compiler.
In this section you will finish installing CLion and then create, build, and
run a trivial CLion project/program (including editing it and seeing how
syntax errors are reported).
It will also discuss some useful features in the CLion IDE.
- Click the CLion icon on the Dock.
The following pop-up window should appear on your screen.
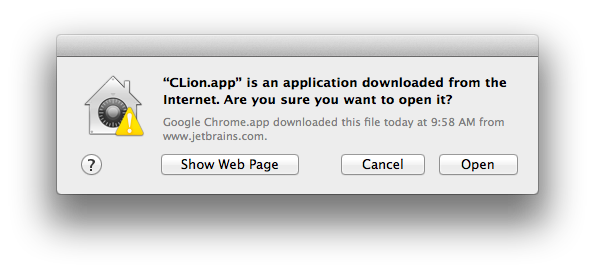
- Click the Open button.
The following Complete Installation pop-up window should appear on
your screen.
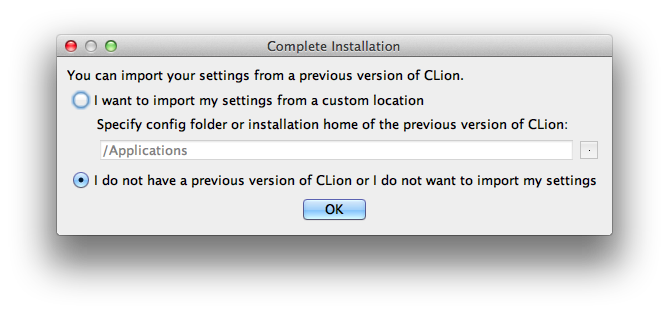
- Click the OK button.
The following CLion Privacy Policy Agreement
pop-up window should appear on your screen.
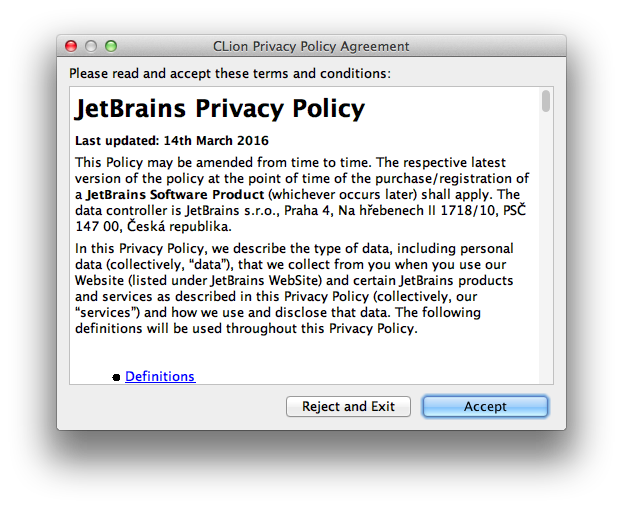
- Click the Accept button on this window.
The following CLion License Activation
pop-up window should appear on your screen.
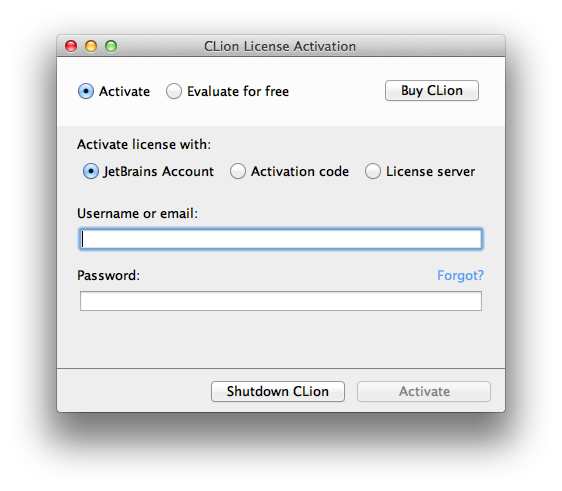
- Enter your Username or email and Password, and then click
Activate button.
The following Customize CLion UI Themes
pop-up window should appear on your screen.
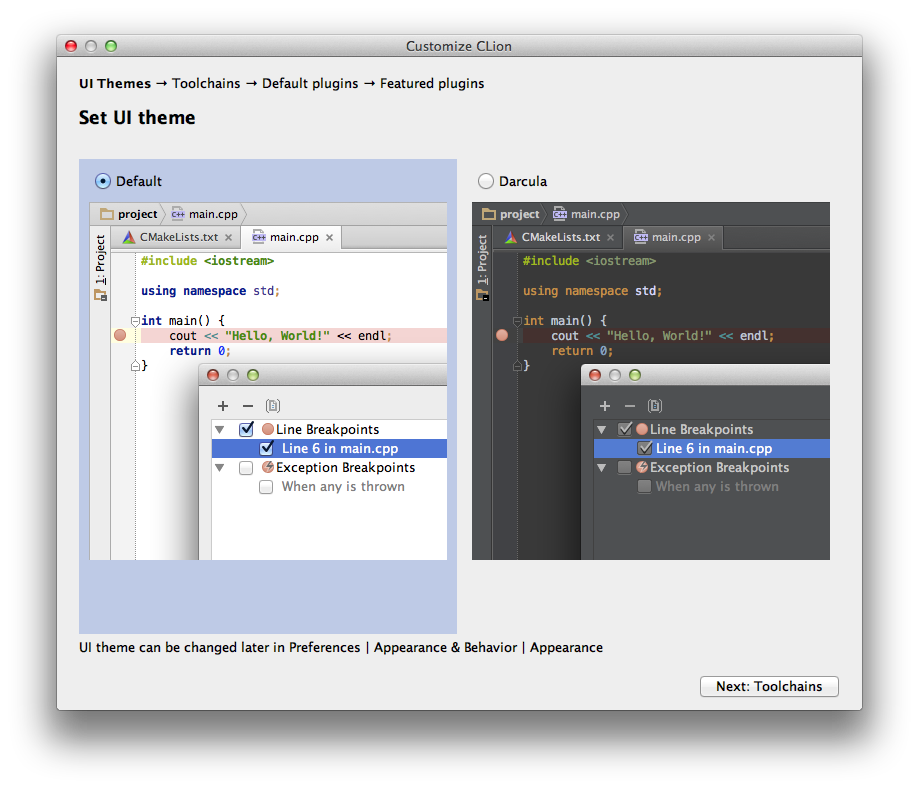
Ensure the Default radio button is pressed.
- Click the Next: Toolchains button on this window.
The following Customize CLion
pop-up window should appear on your screen.

- Click the Next: Default plugins button on this window.
The following Customize CLion
pop-up window should appear on your screen.
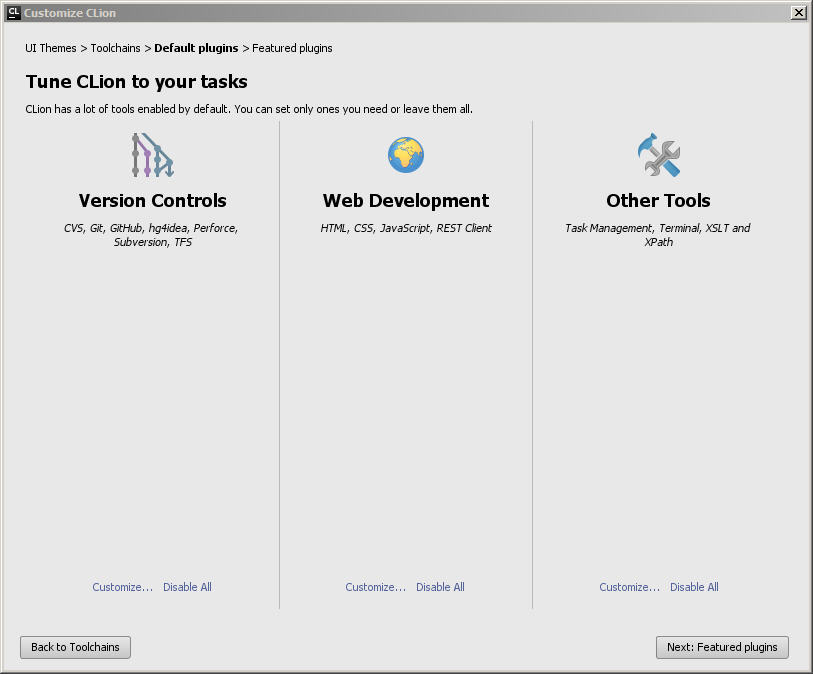
- Click the Next: Featured plugins button on this window.
The following Customize CLion
pop-up window should appear on your screen.
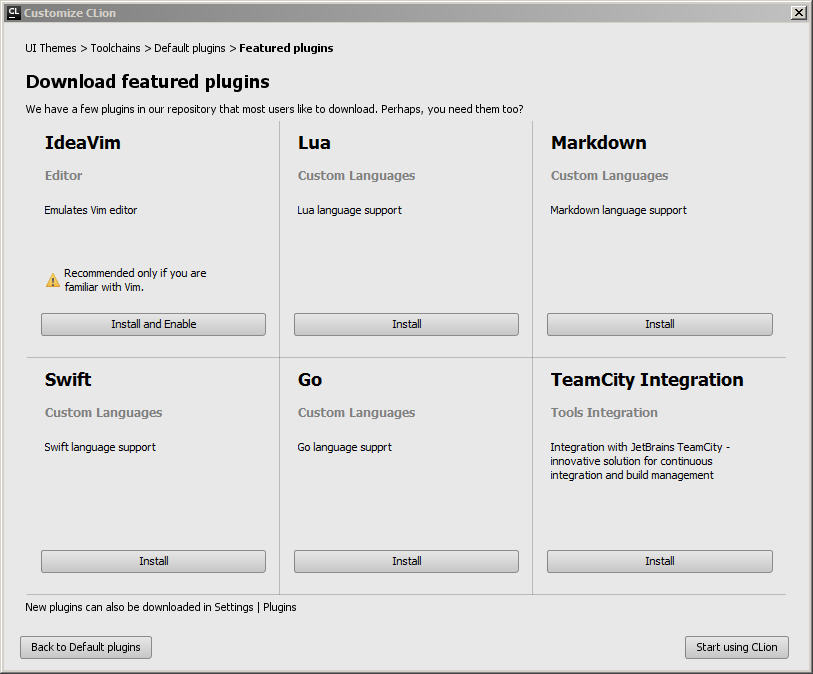
- Click the Start using CLion button on this window.
The following splash should appear on your screen.

Eventually CLion loads and the following Welcome to CLion
pop-up window should appear on your screen (updated to the
version you downloaded; this screen appears only the first
time you start CLion).
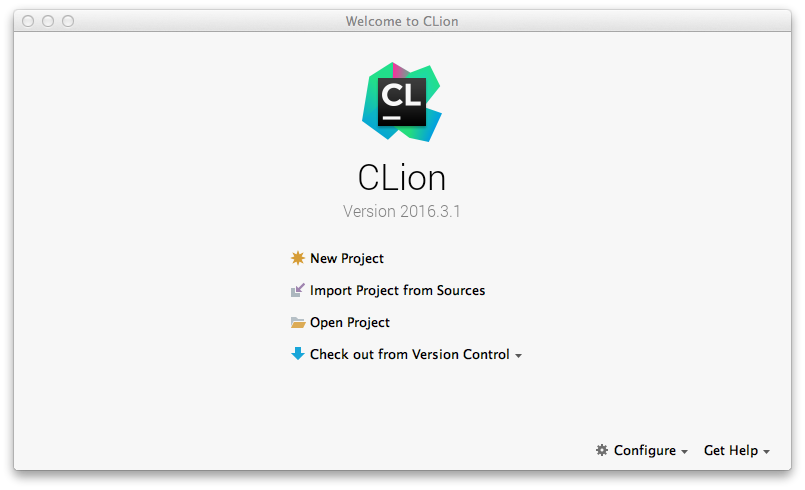
- Click the New Project button on this window.
The following New Project
pop-up window should appear on your screen.
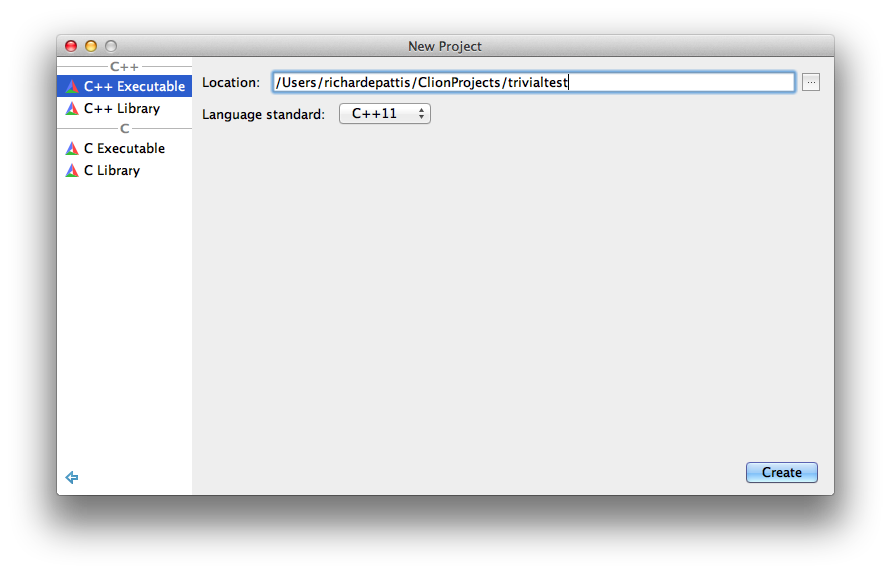
In the Location textbox, at the end of the path, replace
untititled with trivialtest; leave the C++ Executable
and C++11 selected.
- Click the OK button on this window.
If a Tip of the Day pop-up window appears, click it Close
button.
The following CLion
project window should appear on your screen.
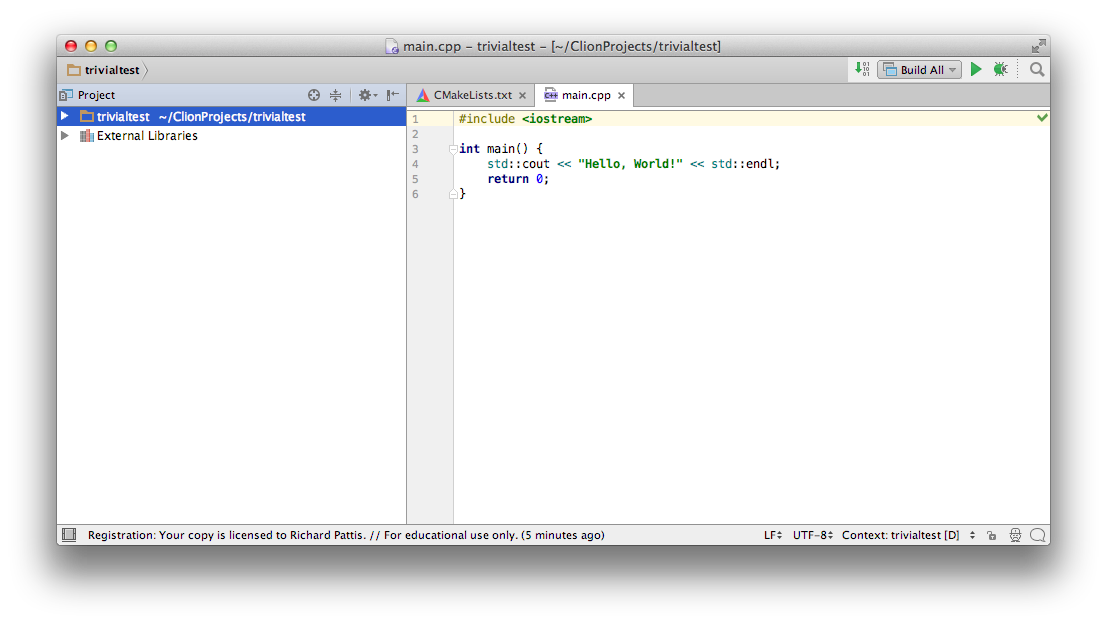
Note that the right pane lists the tabs CMakeLists.txt
(which contains the project's make code) and main.cpp
(which is shown and contains a trivial C++ program).
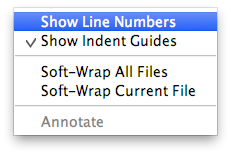
In this window, I right-clicked in the gray area between the project and
the driver.cpp panes and selected Show Line Numbers.
It useful to click the triangle to the left of trivialtest in the
Project/left pane.
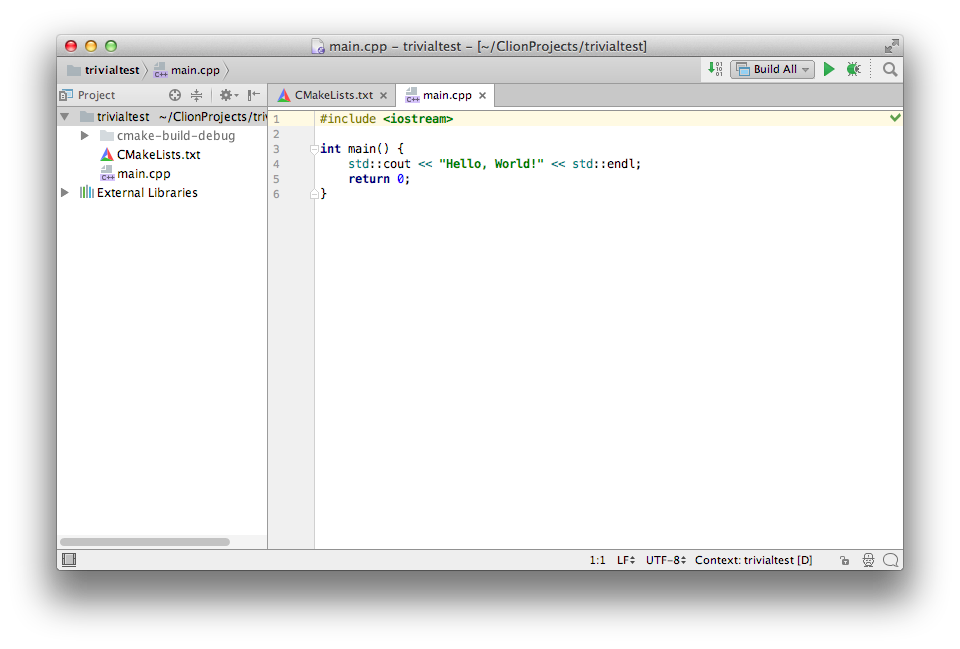
Every project will contain a cmake-build-debug folder, which will
ultimately contain the compiled code (executable) for the project.
Later, we will see how to put data files in that folder; the executable
uses that folder by default for reading/writing files.
- Click the
 (Build icon) on this
window.
(Build icon) on this
window.
The following CLion
project window should appear on your screen.
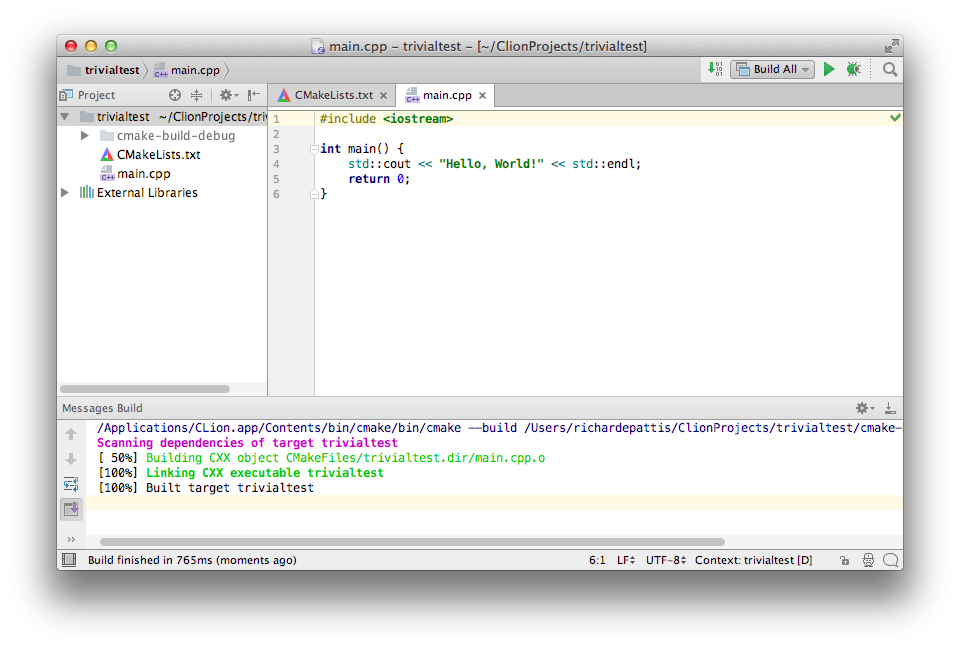
The results of the build appear in the Message Build pane.
This trivialtest C++ program has now been compiled and linked
successfully;
either could have dispayed errors in the Message Build pane, which
would have to be corrected before the program could be run.
- Click the
 (Run icon) on this
window.
(Run icon) on this
window.
The following Edit Configuration
pop-up window should appear on your screen.
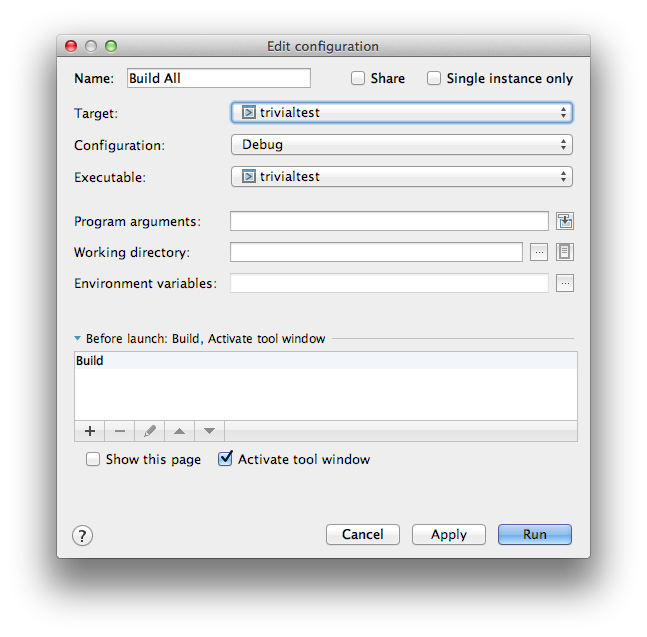
For the Target dropdown, select trivialtest as shown.
The Executable dropdown will change to trivialtest
automatically.
- Click the
 (Run button)
on this window.
(Run button)
on this window.
The following CLion
project window should appear on your screen.
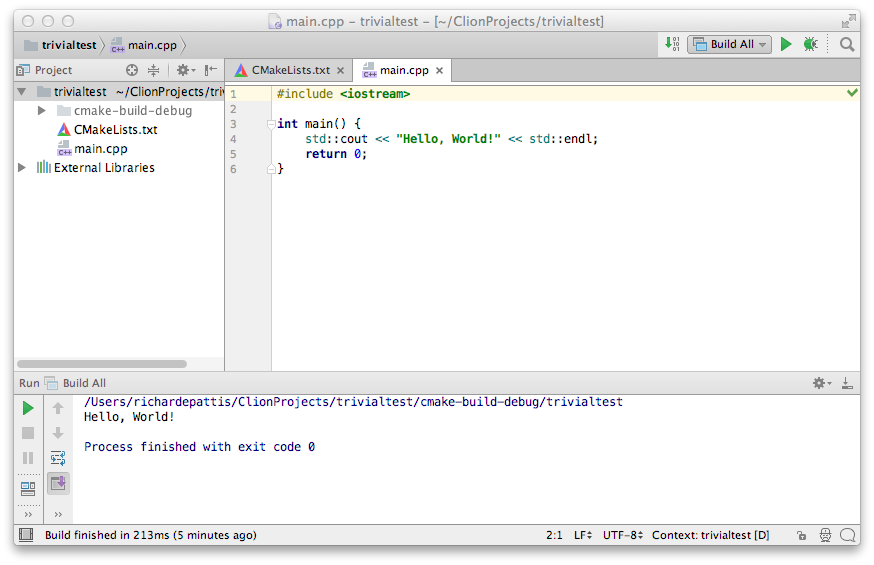
The results of running the program print in the Run pane.
- To edit rebuild, and rerun the program, change the output string to
"Goodbye, World!" and then click the
(Run icon) again.
CLion will rebuild the project (which contains no errors; you will briefly
see the Message Build pane as shown above), and then rerun it.
The following CLion
project window should appear on your screen.
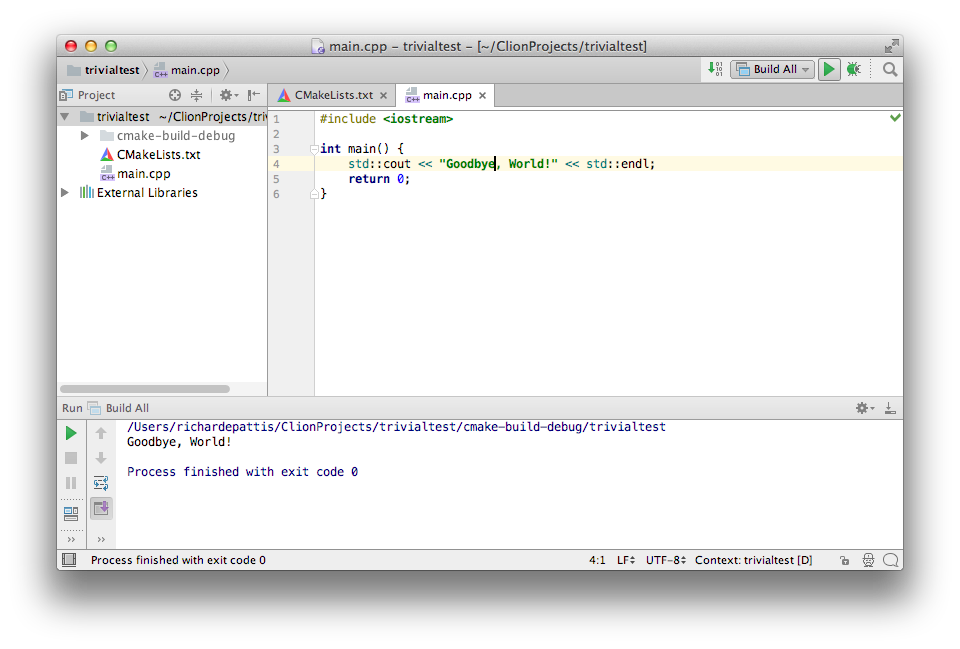
The results of rerunning the program appear in the Run pane.
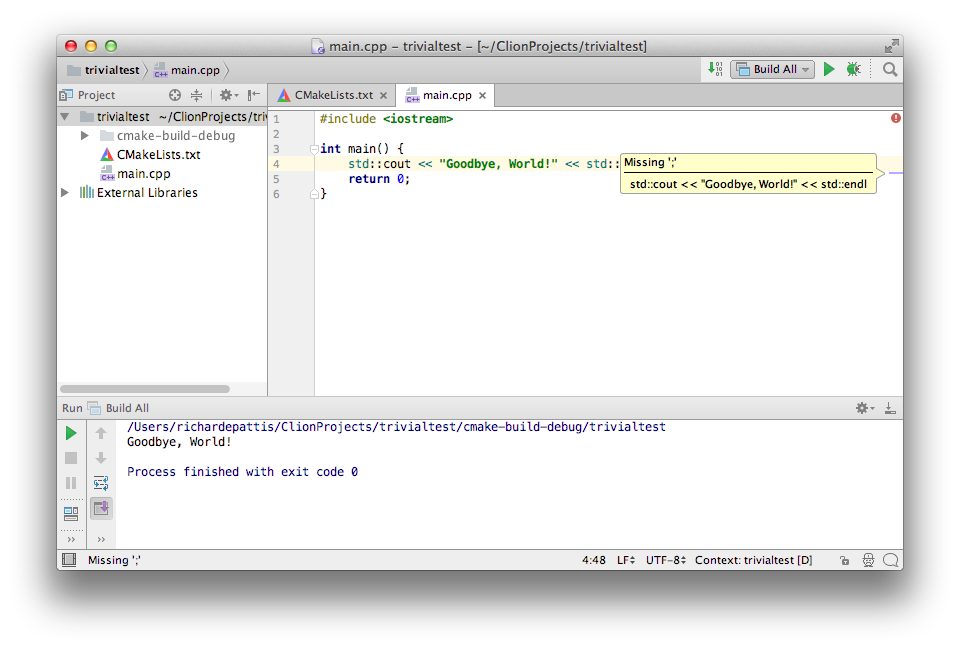
- If we create a syntax error (remove the ; at the
end of the cout line), CLion will highlight endl (the last
token before the error), show a red squiggle under the error, and put a
purple an underline at the right end of that column in the
main.cpp pane (by hovering over it, an error message appears);
CLion will also put a white ! surrounded by a red circle at the
end of the top line in the main.cpp pane.
The following CLion
project window should appear on your screen.
To try to rebuild and rerun this code (it will fail), click the
(Run icon) again.
The following CLion
project window should appear on your screen.
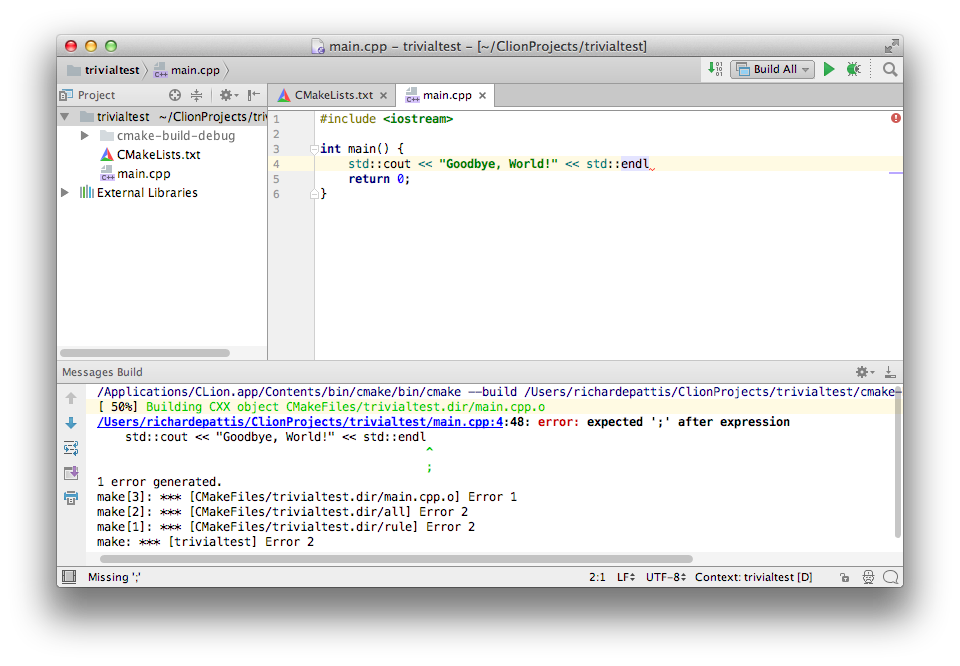
The failed results of attempting to rebuild the program appear in the
Messages Build pane; here I have repositioned the
separation between the mail.cpp and Message Build panes
to show the entire program and all the errors allow all errors to appear.
We will now continue by learning how to download a CLion project and run it.
During the quarter, you will be asked to do this for all programming
assignments and many quizzes.
In this section you will learn more about CLion, by downloading the course
libraries and then downloading/building/running a CLion project that contains
various programs that use these libraries.
- Create a new shortcut and place it on your desktop in an easy to see
position.
- In a Terminal window, copy/paste the following command
defaults write com.apple.finder AppleShowAllFiles YES and
then execute it; terminate the Terminal window.
To undo this command, copy/paste/execute
defaults write com.apple.finder AppleShowAllFiles NO.
- Using the Finder,
make an alias to the folder
Macintosh HD/Users/yourname/ClionProjects
and rename the alias ClionProjects.
- Download and unzip the file template;
Copy its three folders (courselib, gtestlib, and
test_all_data_types) into the folder ClionProjects
shortcuts; it should already contain the trivialtest folder,
created by the operations above.
Generally, whenever you download CLion projects, you will unzip them and
then copy their folders into the folder that ClionProjects
shortcuts.
- Click the File tab near the upper-left corner of the CLion toolbar;
then click the Open option in the pull-down menu.
The following pop-up window should appear on your screen.
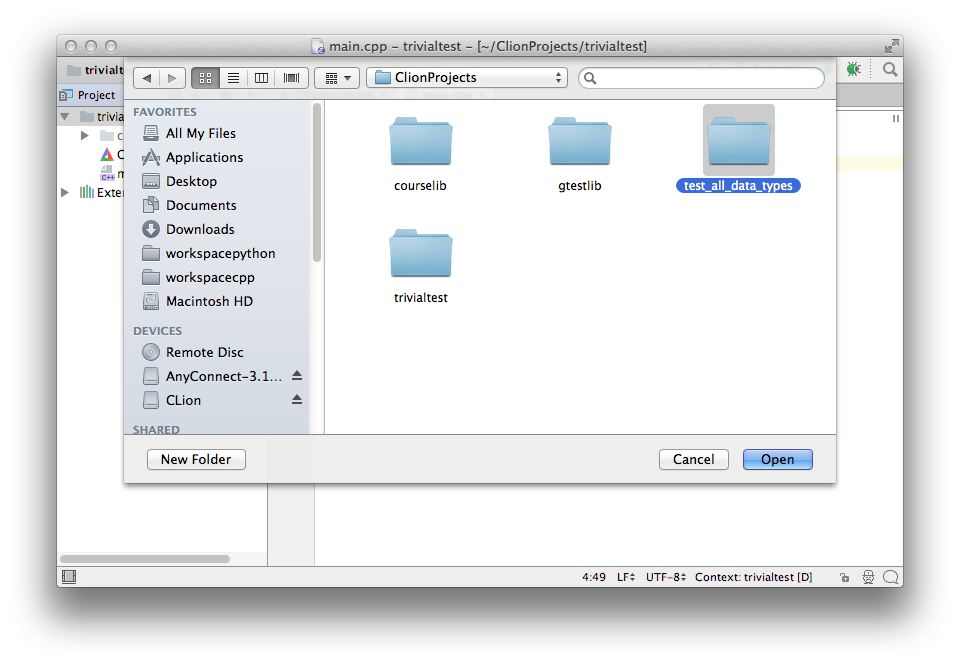
You may need to scroll this window to select the CLionProjects folder
to make it appear as shown above.
The Users folder should contain a folder with your name
(richardepattis for me); it should contain a folder with the
ClionProjects folder; it should contain the four folders
courselib, gtestlib, test_all_data_types,
and trivialtest.
Click on the test_all_data_types folder, so that it is highlighted.
- Click the OK button on this window.
The following Open Project window should appear on your screen.
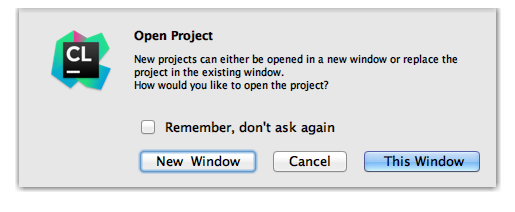
- Click the This Window button on this window.
(clicking New Window creates a second project window, which
is sometimes useful)
The following CLion
project window should appear on your screen.
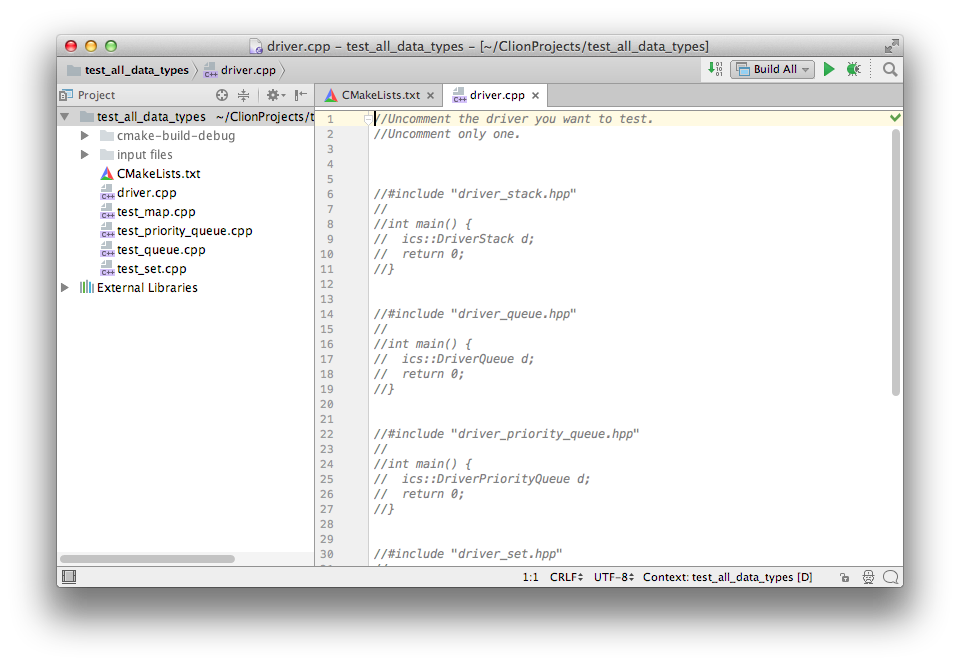
- Scroll downward, select lines 30-35, and press command-/,
which uncomments the chosen lines.
The following CLion
project window should appear on your screen.
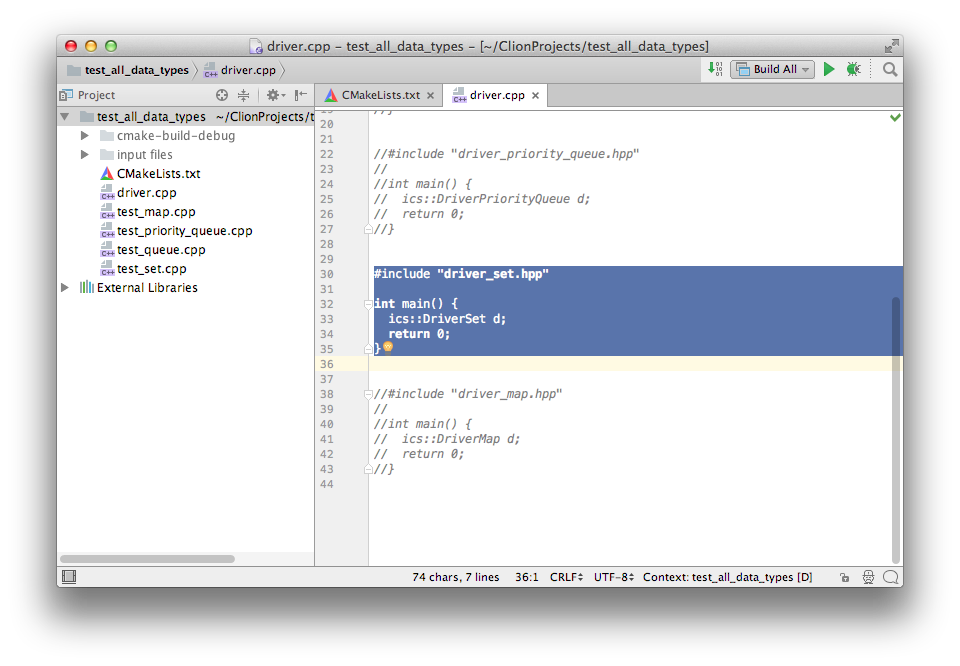
If you press command-/ again, it will comment the lines; so
this command really means toggle-comment on the selected lines.
Before continuing ensure lines 30-35 are uncommented.
- Click the (Run icon) on this
window.
The following CLion
project window should appear on your screen.
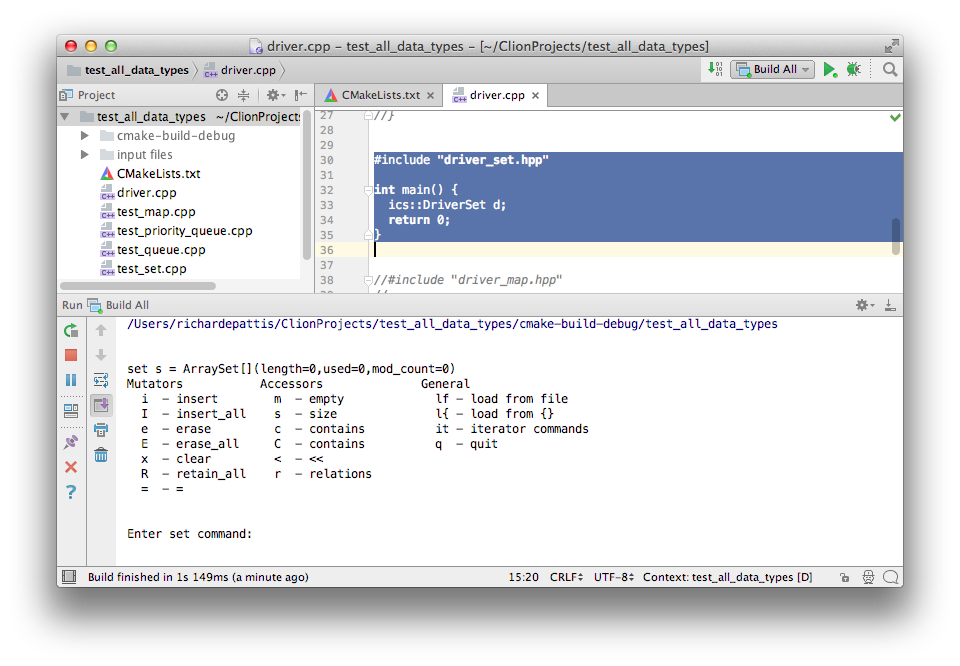
First it will show the Message Build pane; it should be successful,
so it should next show the Run pane.
Experiment with this driver by entering commands (and their arguments, when
prompted) to better understand the set data type.
You can enter the q command to terminate the driver, or you can
click the  (Stop icon) on the
left of the Run pane to terminate the driver.
After terminating the driver, click the
(Stop icon) on the
left of the Run pane to terminate the driver.
After terminating the driver, click the
 (Close icon) left of the
Run pane to close/remove the Run pane.
(Close icon) left of the
Run pane to close/remove the Run pane.
I suggest that you try terminating the driver with a q command; then,
rerun the program and terminate it with the Stop icon.
- We briefly noted the cmake-build-debug folder; now we will examine
it in more detail, but via an Finder window, not via CLion.
Click on the ClionProjects shortcut to open a Finder window,
then double-click its test_all_data_types folder, and finally
double-click its cmake-build-debug folder.
The following Finder window should appear on your screen.
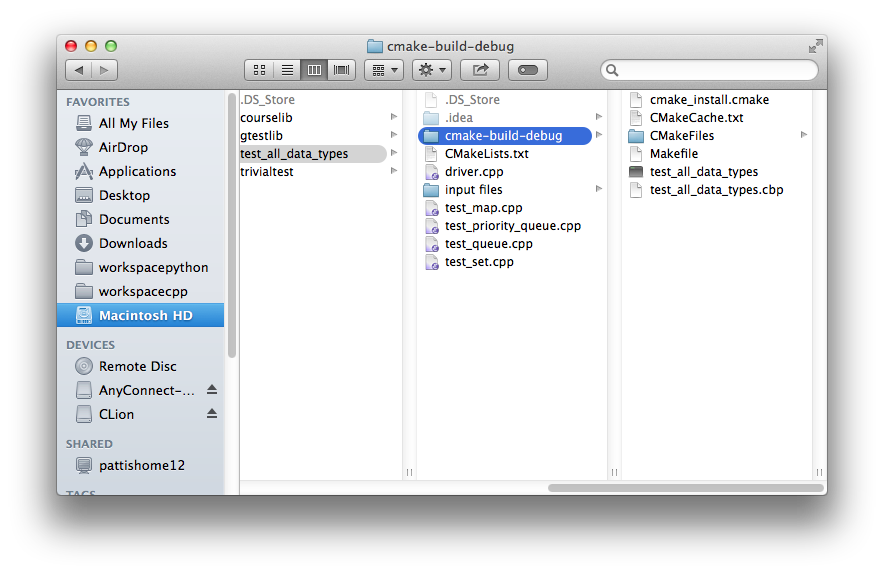
Whenever you create a project, a cmake-build-debug folder will
appear in its project folder.
We have built two projects in this handout: test_all_data_types
and trivialtest; each has its own cmake-build-debug folder.
- Double-click the file test_all_data_types to run this program
in Windows, outside of CLion.
The following Terminal window should appear on your screen.
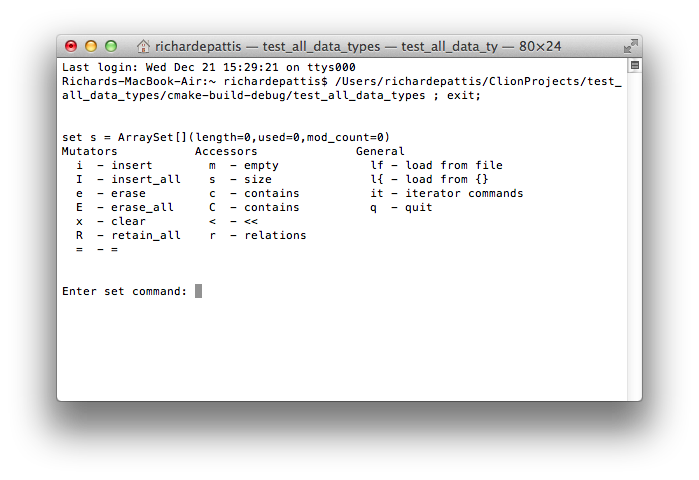
Experiment with this driver by entering commands (and their arguments, when
prompted); it runs as it did in the CLion Run Pane.
Note that when you enter the q command the program terminates and the
Terminal window stops.
For example, if you find the trivialtest.exe file and run it by
double-clicking this file, its MS-DOS windo will run and then immediately
disappear.
For a program that produces lots of output it is often faster to
run the program in a Terminal window, rather than in CLion.
- Find the input files folder in the test_all_data_types folder
and copy all of its .txt data files into the
cmake-build-debug folder that contains the
test_all_data_types file.
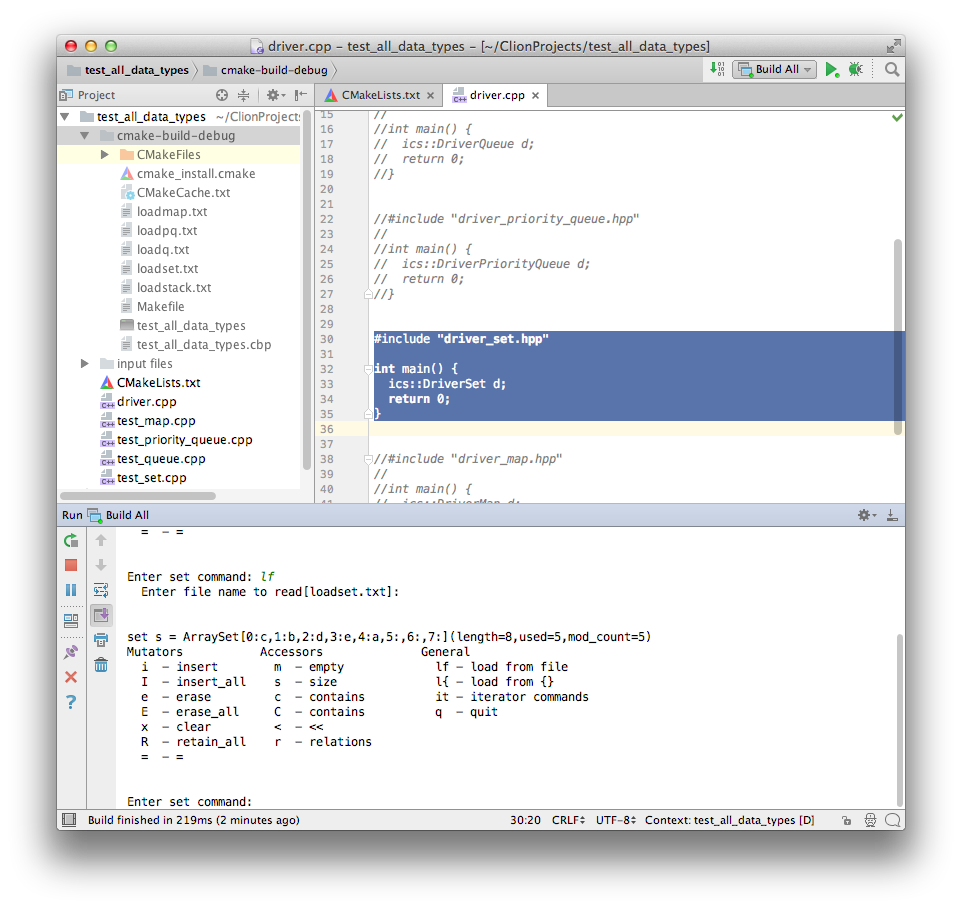
Then, run the program (either in the CLion Run pane or a Terminal
window; try doing it in both places) and
issue the lf command (load from file); when prompted for the file
name, just press the Enter key to choose the default
(loadset.txt).
When running using the CLion Run pane, the following CLion
project window should appear on your screen.
IMPORTANT: If a program reads data files, the root folder for the
specifying the files is the folder in which the executable file
appears.
It is simplest to copy all the data files into this folder.
An alternative would be to leave the files in the input files
folder, copy the entire folder, and then refer to these file names like
input files/loadset.txt.
- A typical project folder may have more than one .cpp file with a
main function (as test_all_data_types has).
Only one of these .cpp files can have its main function uncommented,
otherwise the build will fail.
When working on project, it is typical to
- Comment-out code in one .cpp file.
- Uncomment code in another .cpp file.
- Rebuild/Rerun the newly uncommented .cpp file.
In the test_all_data_types project folder, the driver.cpp
file has many main functions: we uncommented one (in step 6) to allow us
to run the Set driver.
If more than one main function is uncommented, attempting to build the code
will result in the compiler specifying a redefinition of 'main'
error.
The test_all_data_types project folder also contains many .cpp
files (their names all start with test) that each contain one main
function (each is a Googletest for one data type).
If more than one file contains a main function, attempting to build the
code will result in the linker specifying a
multiple definition of 'main' error.
To switch this project from running the Set driver to the Set Googletest
- Comment-out lines 30-35 in the driver.cpp file: select them
and type the command-/ command to toggle the commenting
on the selected lines (comment them).
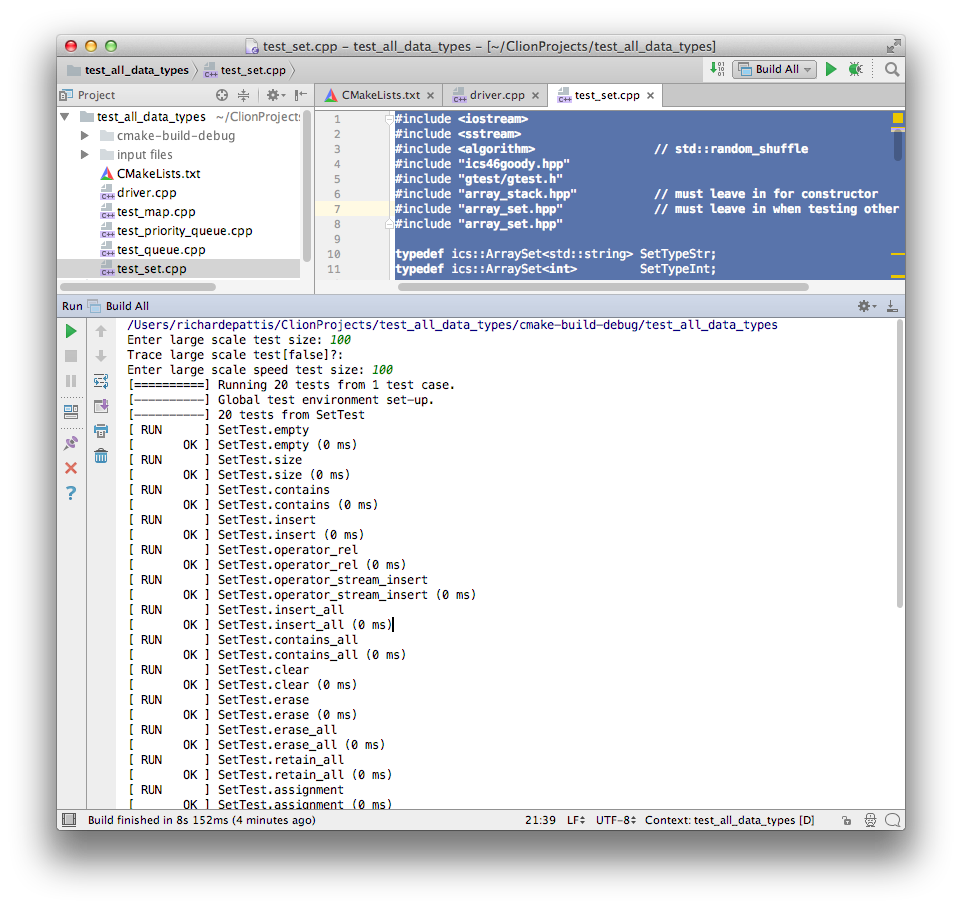
- Scroll down the Project Pane (on the left) and double-click the
test_set.cpp file so that it appears as an editor tab.
- Type the command-a command to select all the lines in
this file.
- Type the command-/ command to toggle the commenting on the
selected lines (uncomment them).
Click the (Run icon).
When prompted enter the three lines of information shown.
The following CLion
project window should appear on your screen.
The bottom should show
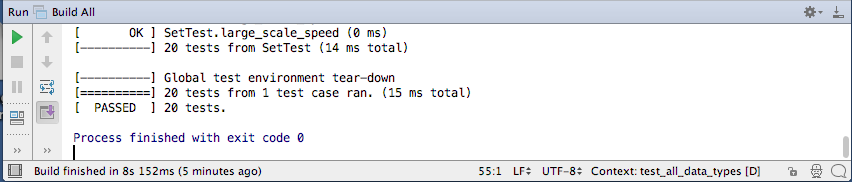
We are now at the end of this handout.
You will not need to repeat the first two sections during the course, but you
will frequently download project folders and use them as demonstrated in
section 3.