!DOCTYPE HTML PUBLIC "-//IETF//DTD HTML//EN">
Eclipse Downloading, Installing, and Testing
Eclipse Downloading, Installing, and Testing
Install a new version of Eclipse to use with MinGW C++
MinGW means Minimalist GNU for Windows: GNU is a source
of open source programming tools (GNU stands for GNU is Not Unix).
Before starting this handout, you should have first downloaded the files
needed by MinGW C++.
Now you will download a version of Eclipse that is already set up to use
MinGW.
You may want to print these instructions before proceeding, so that you can
refer to them while downloading and installing MinGW and Eclipse.
Or, just keep this document in your browser.
You should read each step completely before performing the action that it
describes.
Eclipse: Version 4.4 (Luna)
The Eclipse download requires about 200 MB of disk space; keep it on your
machine, in case you need to re-install Eclipse.
When installed, Eclipse requires an additional 200 MB of disk space.
Downloading Eclipse
- Click
Eclipse
The top of the following page will appear in your browser.
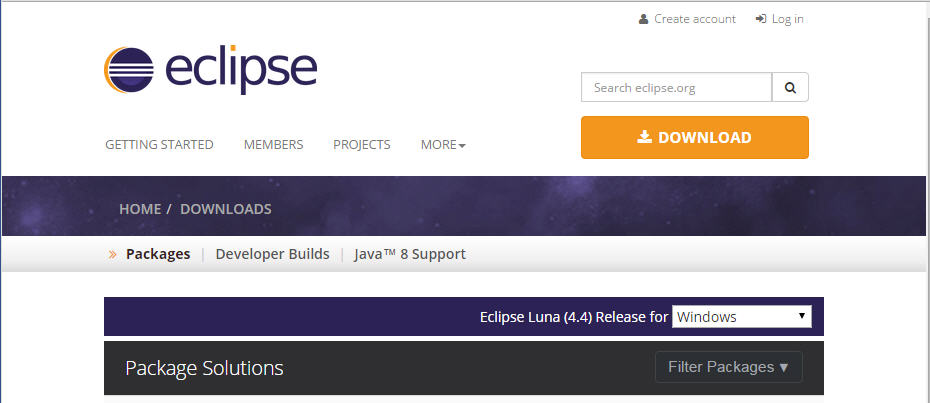
In this handout we will download Eclipse Standard 4.4 for
Windows 32 Bit (the current version is 4.5 Mars); if your computer uses
Windows, continue below; otherwise
look for the pull-down list showing Windows and instead choose
either Mac OS X (Cocoa) or Linux and then continue below.
It is critical that Java, MinGW, and Eclipse are either all 32 Bit or are
all 64 Bit (and only if your Machine/OS supports 64 Bit): I think it
easiest to use 32 Bit for everything.
- Click the Windows 32 Bit Operating System for your machine,
under the heading Eclipse IDE for C/C++ Developers (the fourth
selection from the top).
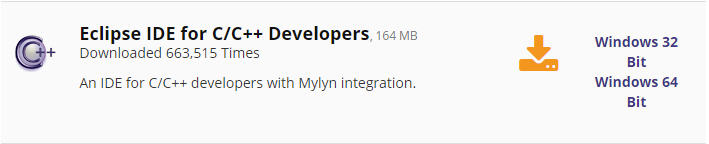
You will see the following page (don't worry about the name of the
institution to the right of the big downward pointing arrow).
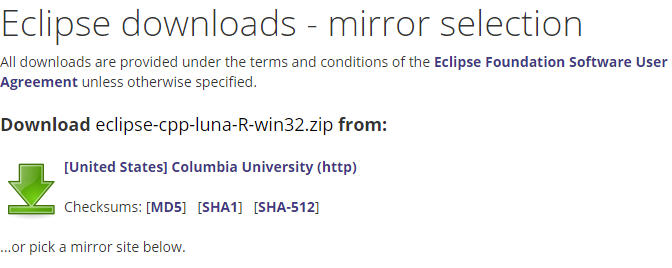
- Click the big downward pointing arrow underneath the
Download eclipse-cpp-luna-R-win32.zip from:
The site named here, in purple to the right of the arrow:
[United States] Columbian University (http) is the
random one chosen by the download page this time; yours may differ.
This file should start downloading in your standard download folder.
This file is about 200 Mb so it might take a while to download fully if you
are on a slow internet connection (it took me about 5 minutes over a
cable modem).
Don't worry about the exact time as long as the download continues to make
steady progress.
In Chrome progress is shown on the bottom-left of the window, via the icon

The file should appear as

Terminate the window browsing the Eclipse download.
- Move this file to a more permanent location, so that you can install Eclipse
(and reinstall it later, if necessary).
- Start the Installing instructions directly below.
Installing Eclipse
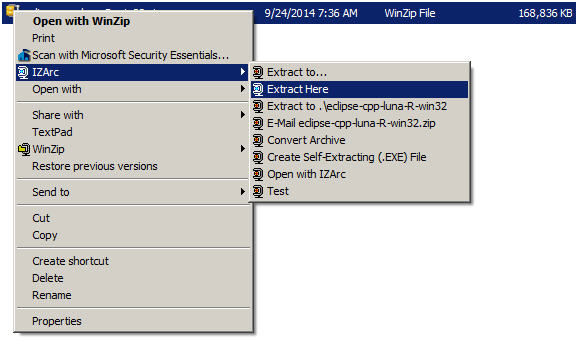
- Unzip eclipse-cpp-luna-R-win32.zip from:, the file that you just
downloaded and moved.
On my machine (running Windows 7), I can
- Right-click the file.
- Hover over the IZArc command from the menu of options.
- Click Extract Here
If you do not have IZArc or an equivalent unzipping program, here is the
web site to download a free copy of
IZarc.
Unzipping this file creates a folder named eclipseC:\Program Files\ directory.
- Create a shortcut on your desktop to the eclipse.exe file in
this eclipse folder:

On most Windows machines, you can
- Right-press the file eclipse.exe
- Drag it to the desktop.
- Release the right button.
- Click Create shortcut here
Now you are ready to perform a one-time only setup of Eclipse on
your machine.
- Double-click the shortcut to Eclipse that you just created above.
The following splash screen will appear

and then a Workspace Launcher pop-up window will appear.
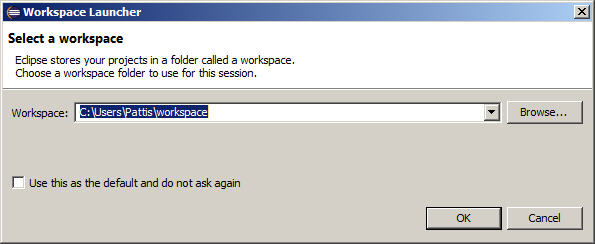
In the Workspace text box, your login name should appear between
C:\Users\ and \workspace, instead of Administrator.
Leave unchecked the
Use this as the default and do not ask again box.
Although you will use this same workspace for the entire quarter (checking
projects in and out of it), it is best to see this
Workspace Launcher pop-up window each time you start Eclipse, to
remind you where your workspace is located.
- Click OK.
Progress bars will appear at the bottom of the spash screen as Eclipse
loads.
Eventually the Eclipse workbench will appear with a Welcome tab
covering it.
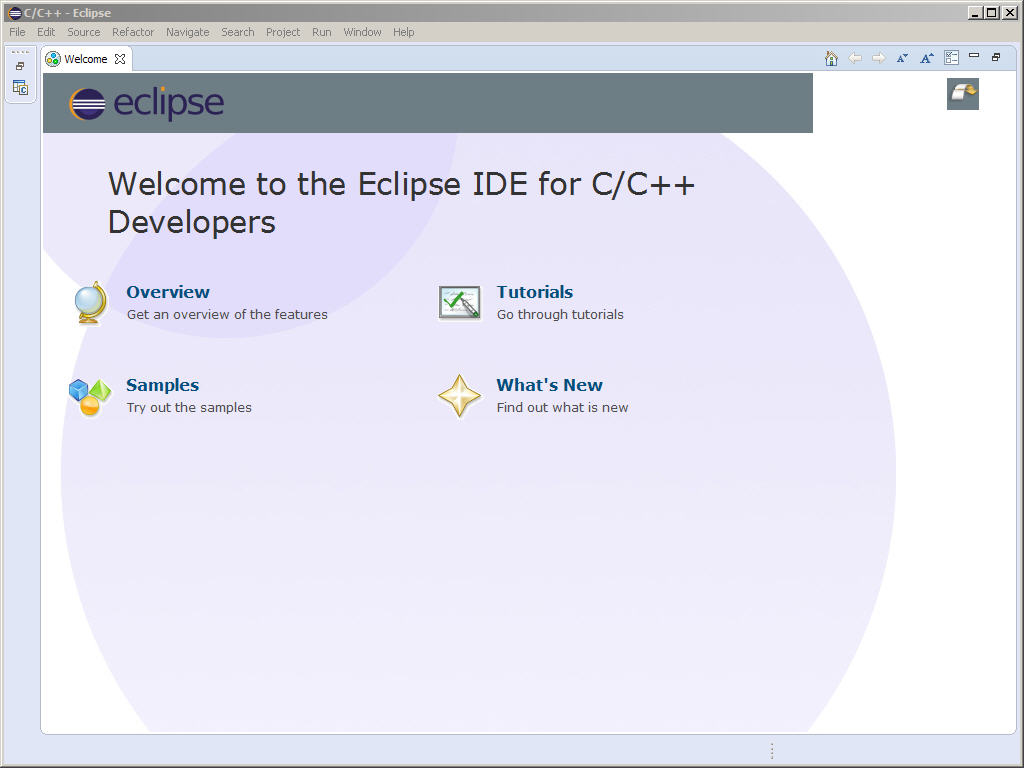
- Terminate (click X on) the Welcome tab.
You will not see the Welcome tab when you start Eclipse after this
first time.
You should now see the following Eclipse workbench.
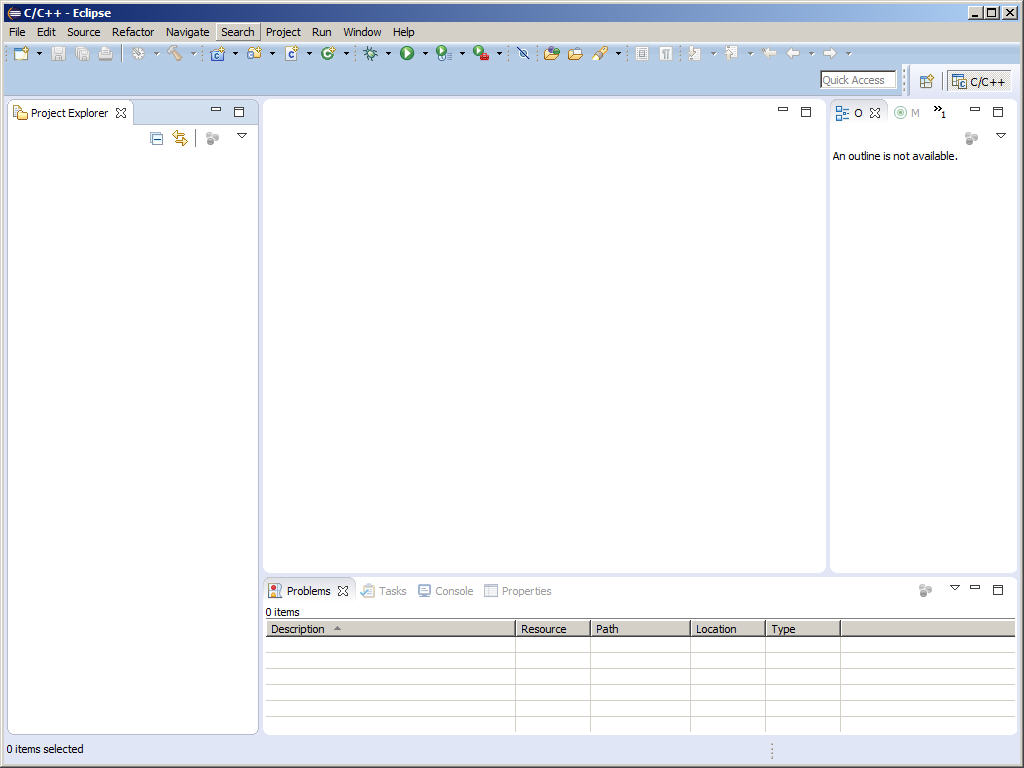
Notice the C/C++ words/icon appear on the top left (in the Window
title-bar) and below the upper right-hand corner (beneath the tool-bar).
- To simplify the edit/build-recompile/run loop that we will discuss below,
perform the following operation: after completing it, clicking
Build or Run will automatically save the contents of any
edited file before the program is rebuilt and run.
- Select Window | Preferences.
- In the Preferences popup window disclose General and
select Workspace.
- Click "Save automatically before build" checkbox, as follows..
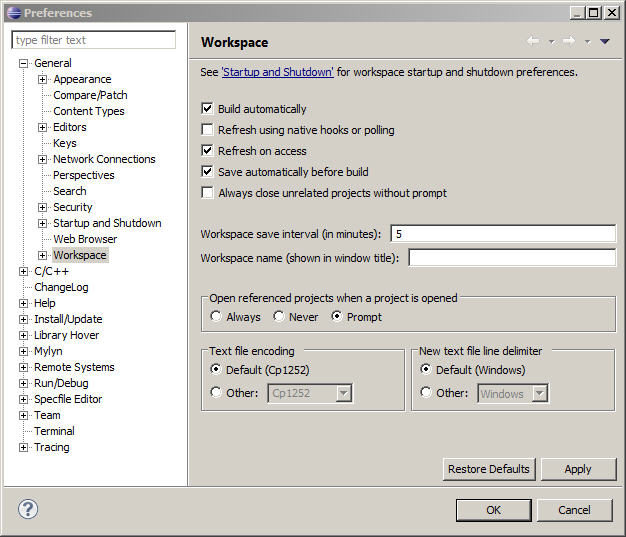
- Click Apply.
- In the Preferences popup window disclose Run/Debug and
select Launching.
- In the "Save required dirty editors before launching" section click
the Always radio button as follows.
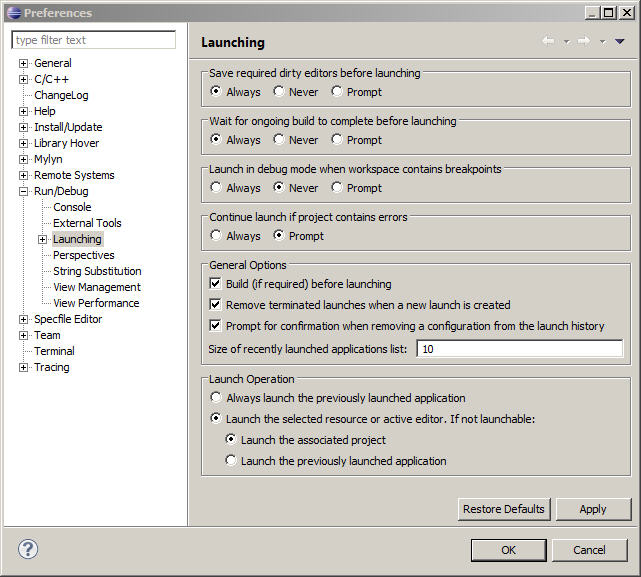
- Click Apply.
- Click OK.
Once you have set up these preference in a workspace on your home machine,
you will never have to peform this step again.
Eclipse is now installed for C++.
Start the Testing instructions directly below.
Testing Eclipse, C++, and Libraries
- Download the ics46-templates.zip file
and unzip it.
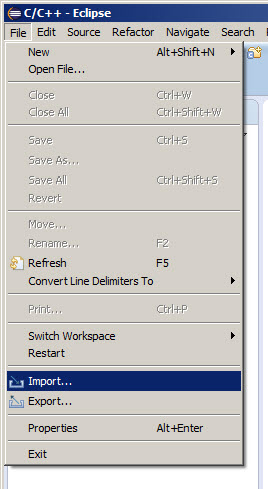
- Select File | Imports as shown below.
- Disclose General and select Existing Projects into Workspace
as shown below.

- Click Next>
Browse to the ics46-templates folder you downloaded and unzipped in
above.
Click the "Copy projects into workspace" checkbox, as shown below.
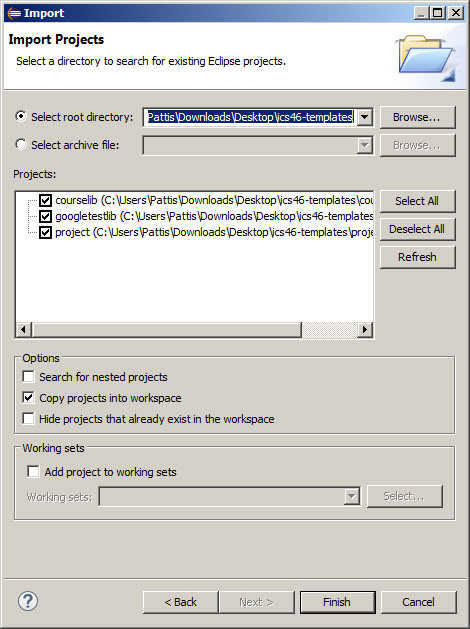
- Click Finish.
The Project Explorer window should be updated to appear as shown below.
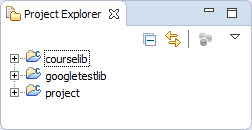
You can explore the courselib and googletestlib projects
by disclosing/eliding their folders and subfolders.
The software in these projects have already been built, so you do
not need to build them here.
The project folder should remain unchanged.
Below (and in the future) you will copy/paste this project folder
to create a new project folder in which to put your source files for the
new project.
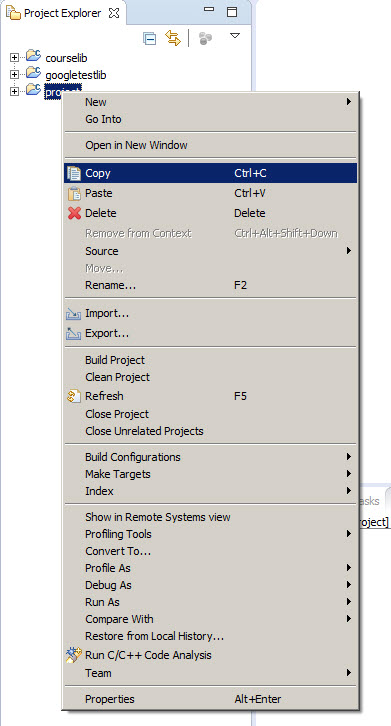
- Right-click the project icon in the Project Explorer tab
and select Copy as shown below (or click project icon and use
the Ctrl+c shortcut for Copy) as shown below.
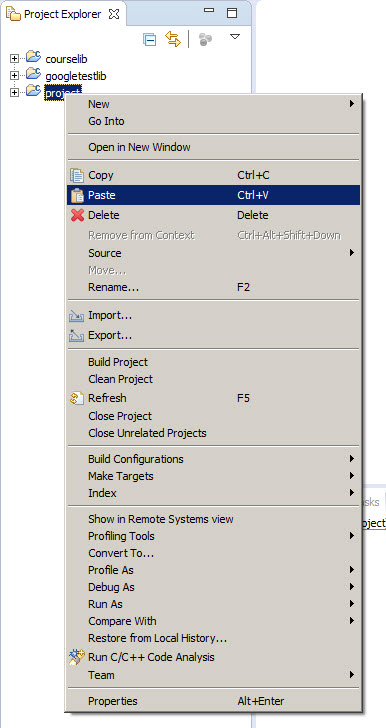
- Right-click the project icon in the Project Explorer tab
and select Paste as shown below (or use the Ctrl+v shortcut for
Paste) as shown below.
- Rename it to be test_set as shown below
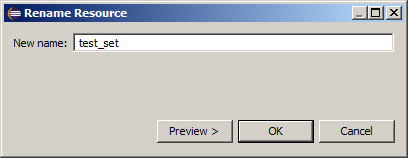
and click OK.
- Disclose the test_set icon in the Project Explorer tab: it
shows an src folder which should appear empty, as shown below

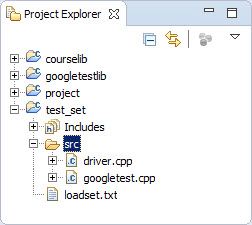
- Download and unzip test_set.zip.
Copy/Paste all the files in its src folder into the src folder
shown in the newly created and disclosed test_set project folder.
Copy any data files (there is one: loadset.txt) into the newly created
test_set project folder.
Disclose the src folder, which should appear as shown below
- Double-click the driver.cpp file in the src folder.
In the Editor tab for the driver.cpp file select all the lines (Ctrl+a)
and then uncomment them (Ctrl+/).
The Editor tab for the driver.cpp file should show the following.
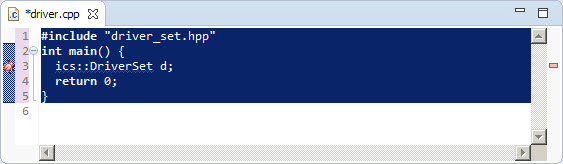
Notice the * prefixing the driver.cpp file name: this
indicates the file has been modified but not saved.
You can right-click in the file and select Save, but Eclipse will do
that automatically when you build a project (if you correctly followed the
instructions for installing it).
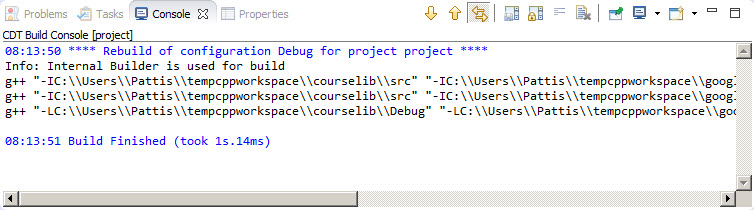
- Either click the test_set icon in the Project Explorer tab
and then click the Hammer icon
 ; or
right-click the test_set icon in the Project Explorer tab
and select Build Project.
The Console window should show the following.
; or
right-click the test_set icon in the Project Explorer tab
and select Build Project.
The Console window should show the following.
- Either right-click the test_set icon in the Project Explorer
or right-click in the driver.cpp Editor tab.
Then select Run As and 1 Local C/C++ Application.
The Console window should show the following.

You can use this driver interactively to test various operations on the
Set data type that is implemented by an array
(from courselib).
When you are done testing, the q command quits/terminates this code.
- Comment out all the code in the Editor tab for the driver.cpp
file (Ctrl+a followed by Ctrl+/).
Double-click the test_set.cpp file in the Project Explorer
tab.
Uncomment all the code in the Editor tab for the googletest.cpp
file (Ctrl+a followed by Ctrl+/).
Compile-Build and Run this code: because we are rerunning a project that has
already been compiled-built and run, we can recompile-rebuild and rerun by
just clicking the Run icon ( ).
Knowing this shortcut is useful.
).
Knowing this shortcut is useful.
Ignore the two warning message: this code uses a for-loop counter
that is not used inside the loop.
When prompted, type 1000 and enter, enter, and 1000 and enter
(as shown in green below).
The Console window should show the following.
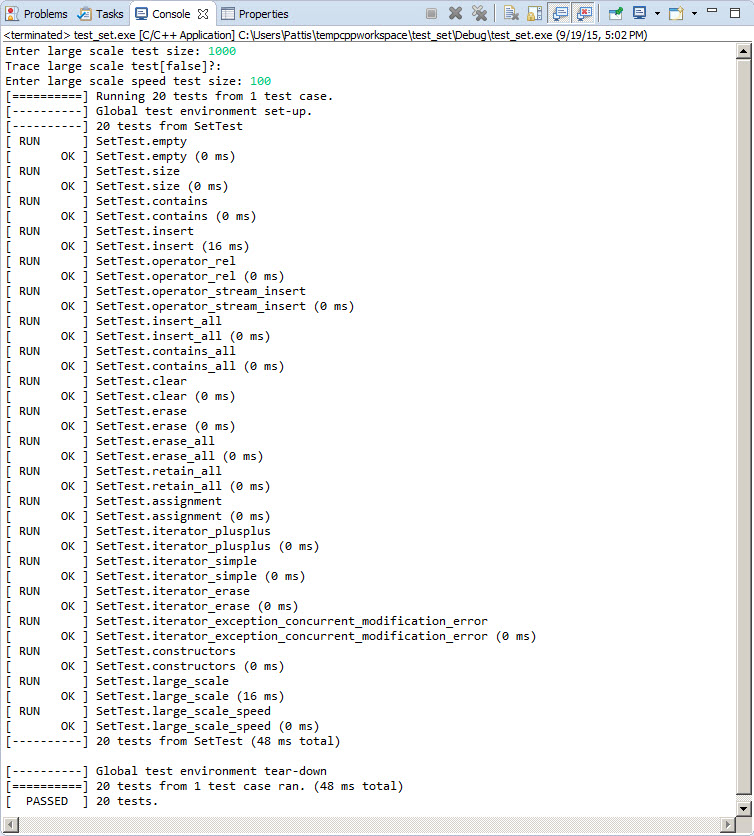
Eclipse and C++ are now working correctly with the courselib and
googletestlib
For subsequent quizzes/programs, you can
- Copy/Paste the project folder in your workspace, renaming it
appropriately for the current quiz/program,
- Download and unzip the folder for the quiz/program,
- Copy all the files in its src folder (all the .hpp and
.cpp files) into the empty src folder of the new project
folder;
copy all .txt files into the top-level of the new project folder,
- Compile-Build the project; often doing so requires uncommenting exactly one
of the .cpp files in the src folder.
- Run the compiled-built code.
All these steps were shown above.
You should never have to reimport the courselib or
googletestlib, although I might instruct you to
change some the the files in the courselib/src folder
and rebuild the library:
Read Updating the Course
Library Instructions.